Rack of lamb can be intimidating—an expensive cut of meat that many enjoy at a restaurant but would never think to make at home. In fact, this is one elegant dish that does not require a lot of prep time, nor is it complex. So go out and buy a rack of lamb, grab a bottle of your favourite red wine, prepare some candles and get ready to enjoy an elegant, fancy dinner for two in less than an hour of active cooking time.
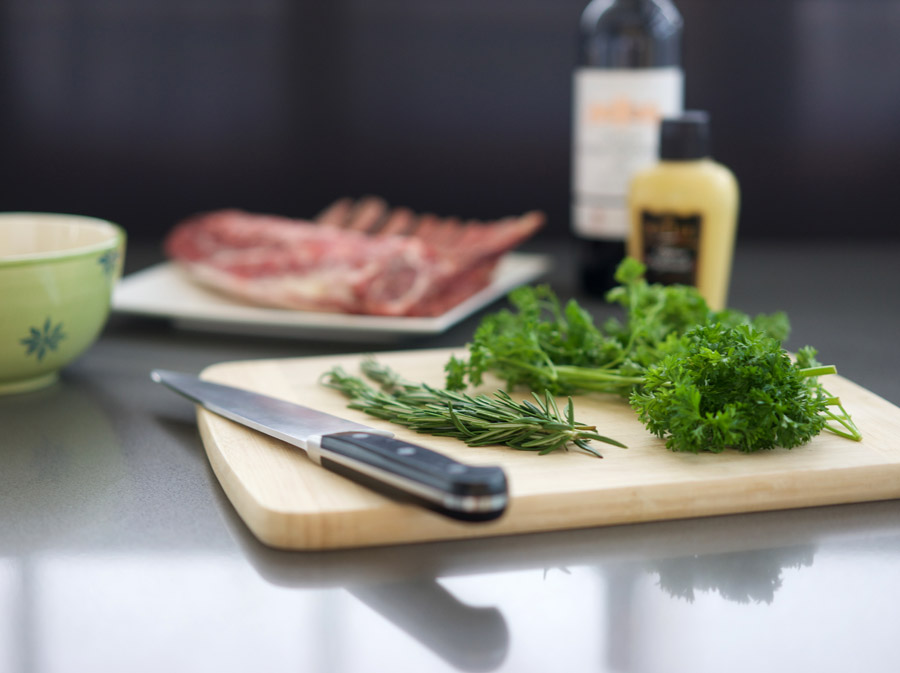
The ingredients are quite simple: Dijon mustard, herbs, breadcrumbs, baby potatoes and olive oil. To keep this recipe quick and easy, I recommend having your butcher prepare the meat for you, trimming away to the chine bone and cleaning the rib bones. However if that isn’t possible, or you want to do this yourself, there is a great how-to video over at Martha Stewart here. We always have fun selecting which red to pair with lamb—we love a good Châteauneuf-du-Pape which tends to be fruity, luscious and a bit spicy.
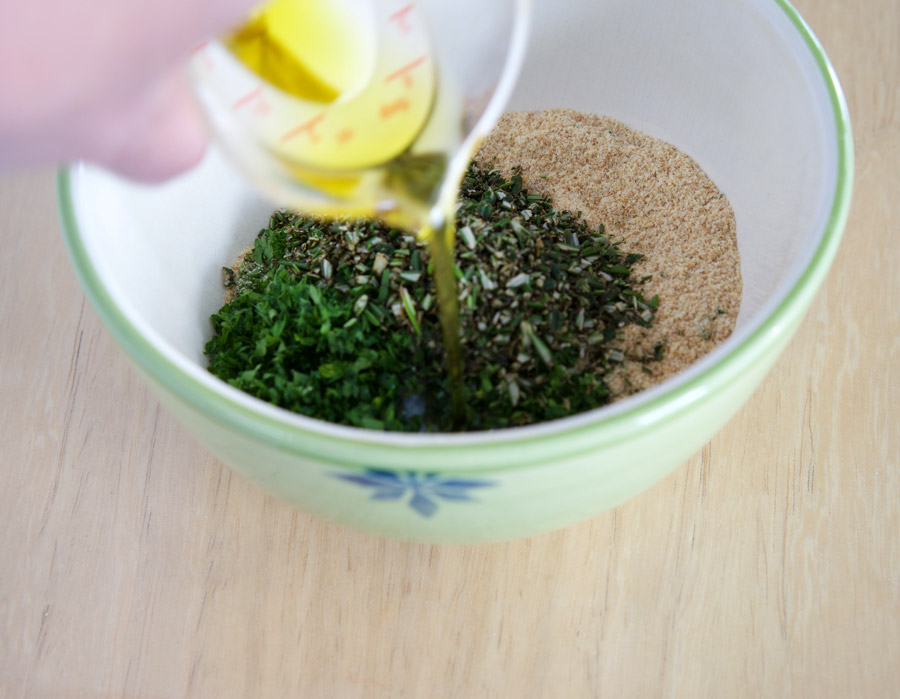
The breadcrumb mixture is quick to put together, and it really compliments the lamb flavours to make this roast extra-special.
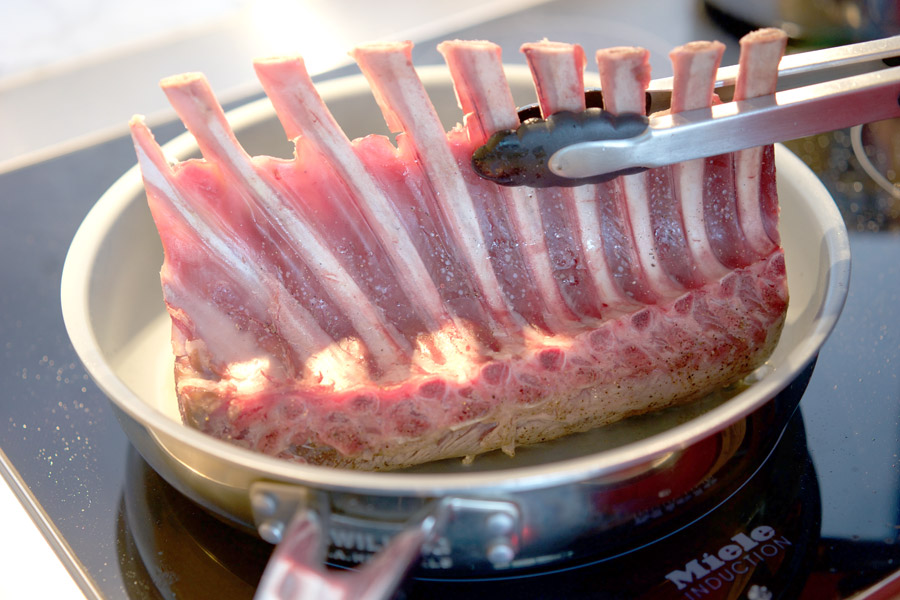
It’s important to get a good sear on the fat, to ensure it’s nice and crispy and not overly fatty once you roast it. Use tongs to turn the meat to sear it on all sides.
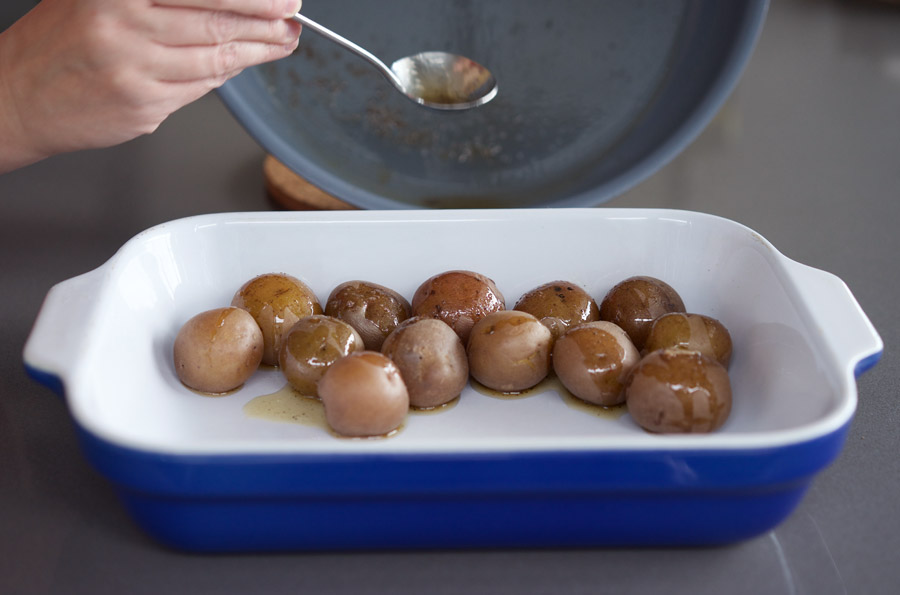
I take the pan drippings and spoon them over the potatoes giving them great flavour. The potatoes roast together with the lamb so the roast even comes with its own built-in side dish!
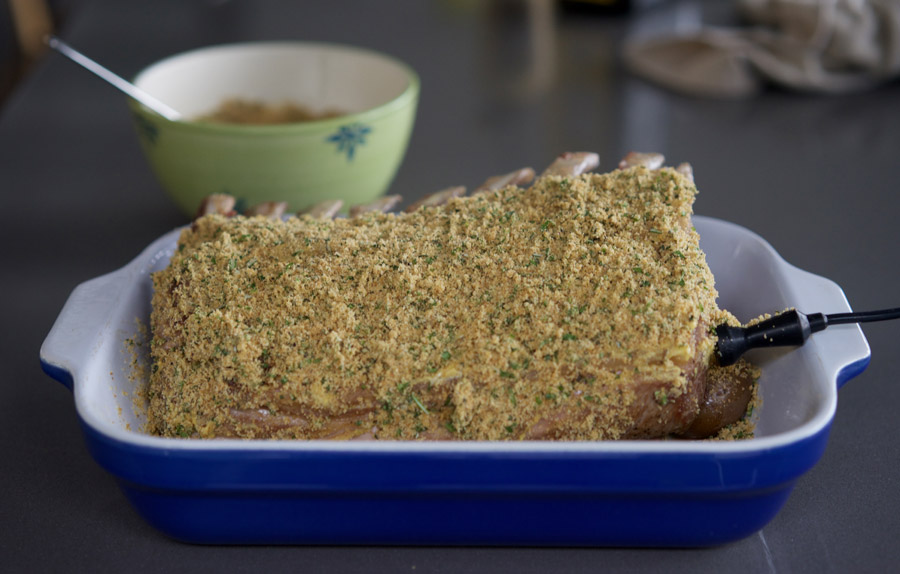
Next you add the lamb to the dish, coat it with mustard and then the breadcrumbs. Insert a thermometer if you have one (my oven comes with one that plugs into the oven, the timer beeps when the preset temperature is reached which is super handy). The ideal temperature to remove the rack from the oven is 130°F for medium rare—it will climb another 5 or so degrees while it rests.
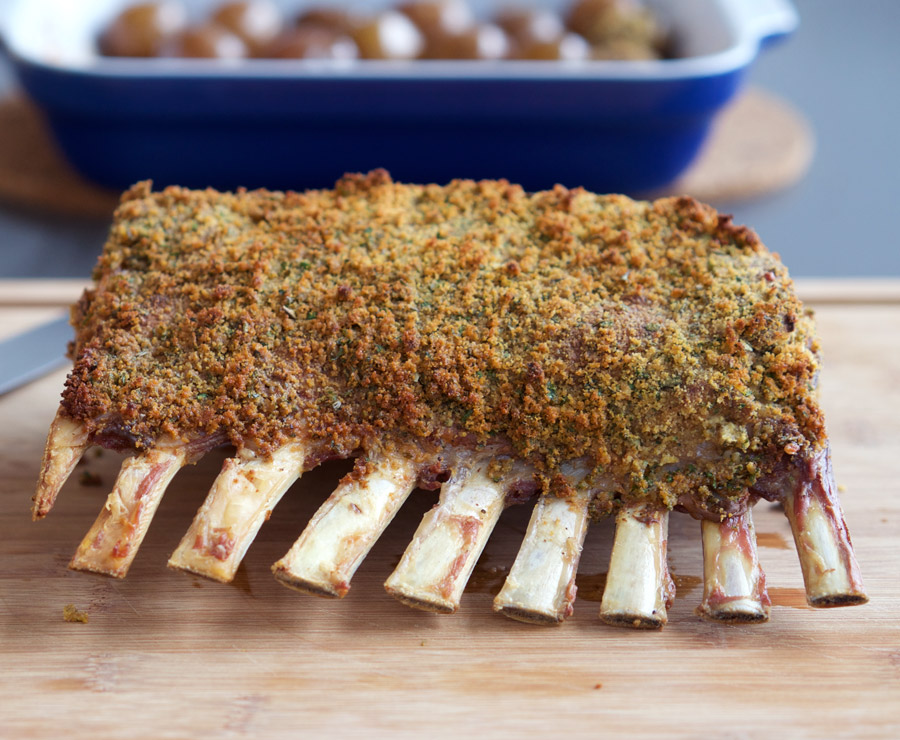
Golden and glorious, the rack emerges from the oven. Resist the temptation to cut into it right away and cover it with foil to rest for 10 minutes.
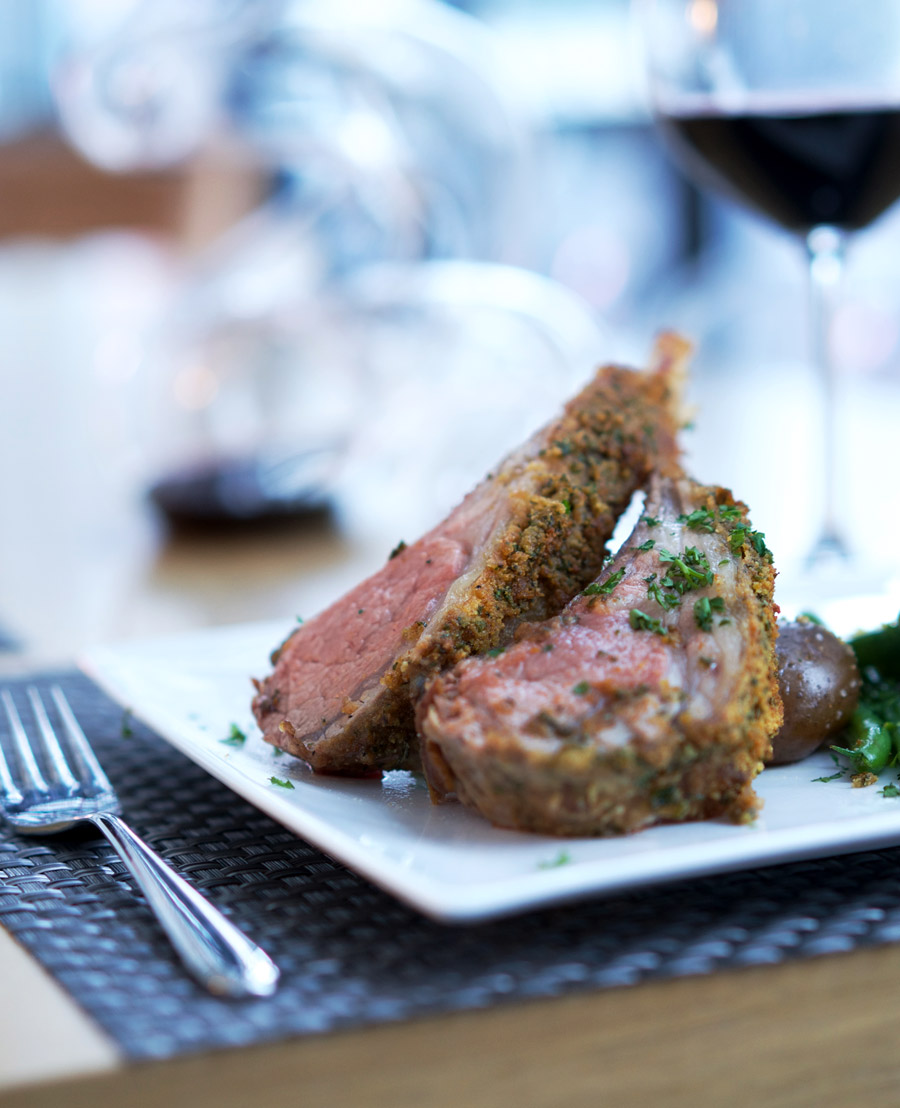
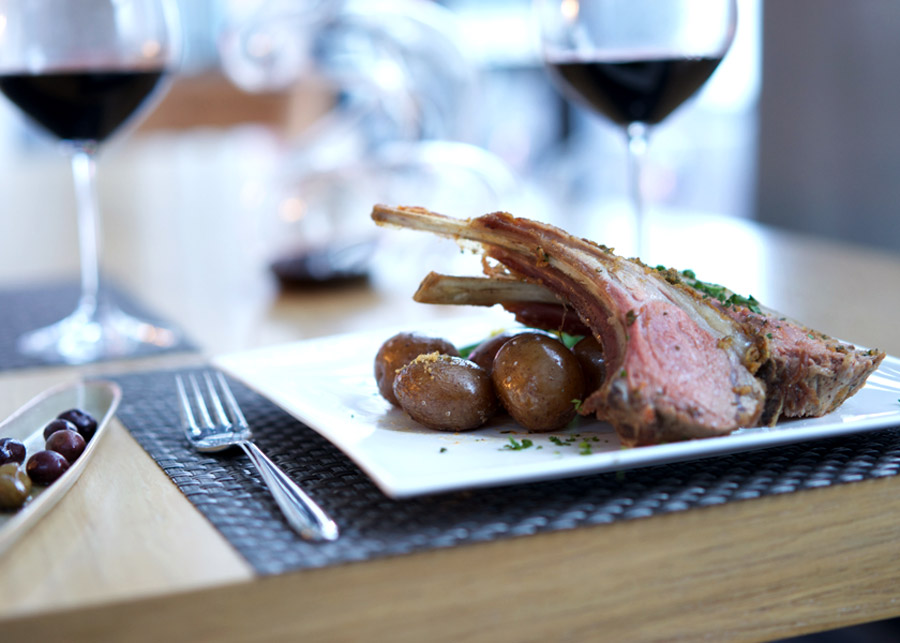
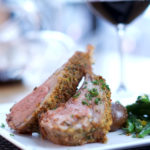
So elegant when plated, rack of lamb is a special treat that you don’t have to save for going out—you can make it at home and it’s easier than you would ever think!
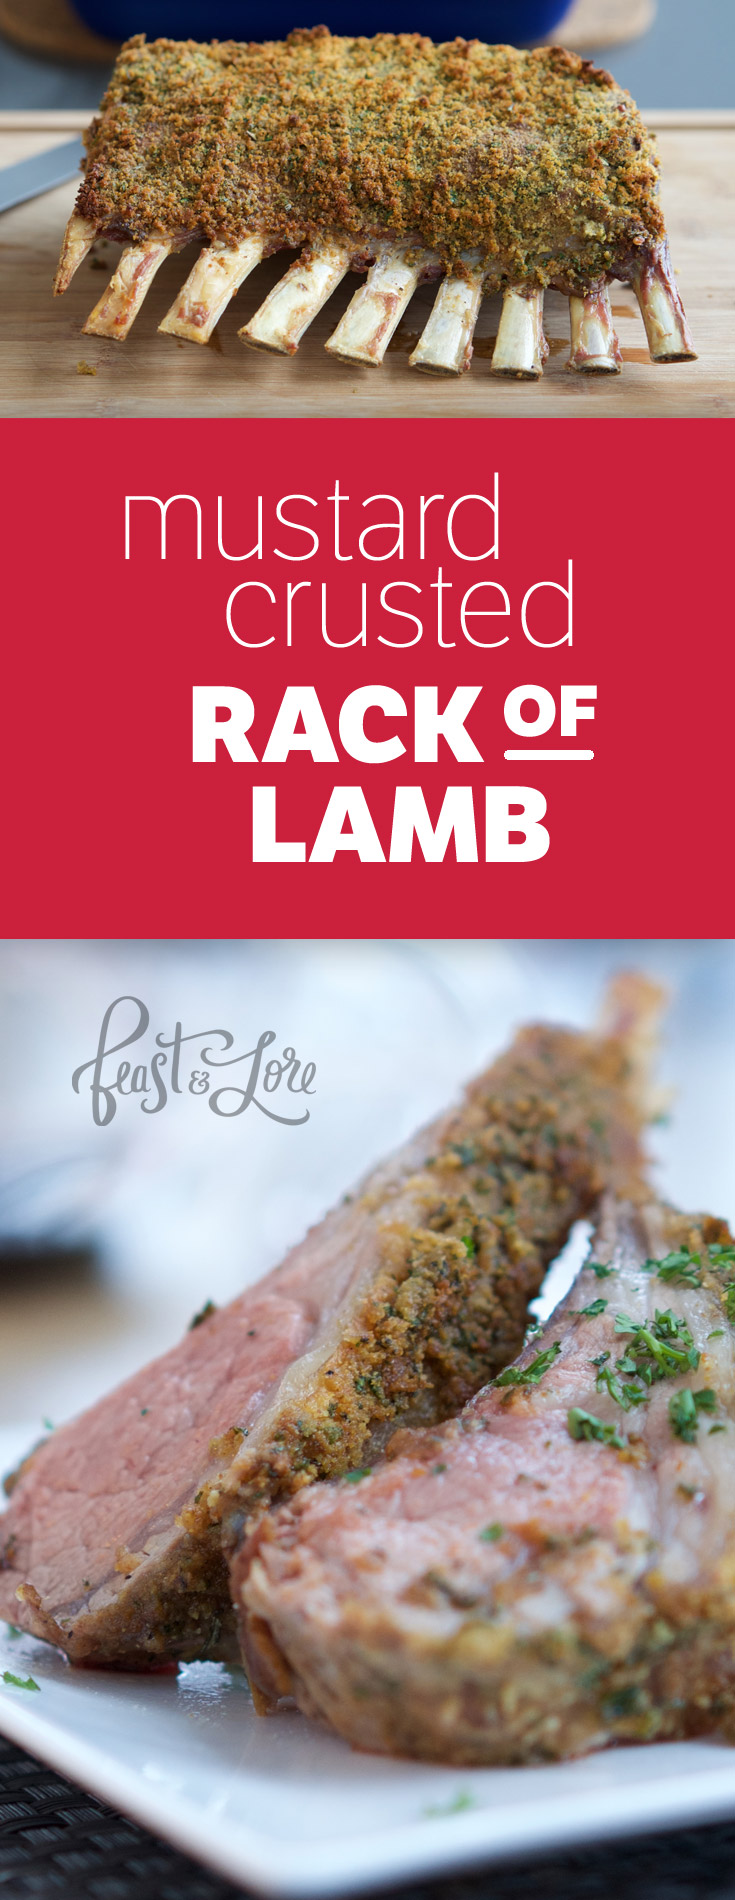
Mustard-herb crusted rack of lamb
An elegant dish that looks like a lot of work but is actually pleasantly simple to make for a special weekend dinner.
Ingredients
For Herb Crust
- 3/4 cup breadcrumbs
- 1 tbsp fresh rosemary, finely chopped
- 1/2 tbsp fresh parsley, finely chopped
- 1/2 tsp kosher salt
- 1/4 tsp freshly ground black pepper
- 1 tbsp olive oil
For Lamb
- 1 rack of lamb, frenched
- 1 tbsp Dijon mustard
- salt & pepper to taste
- 1 tbsp olive oil
- 2 cups baby potatoes
Instructions
-
Remove the rack of lamb from the fridge about 1 hour before cooking, to allow the meat to come to room temperature. (This allows for more even roasting). Trim excess fat from the lamb so that an even, thin layer of fat is remaining. Season with salt and pepper to taste.
-
Preheat oven to 400°. Prepare a baking dish or roast pan just large enough to hold the rack of lamb. Add potatoes to the dish, pilling them to one of the long sides of the pan, and set aside.
-
In a small bowl combine all of the Herb Crust ingredients. Set aside.
-
Heat olive oil over high heat in a large sauté pan. Add lamb rack, fatty side down, and brown until fat is rendered in the pan, and the fat on the lamb is golden and crisp. Use tongs to position the rack to evenly brown all sides of the meat. All together the browning should take about 5 minutes.
-
Transfer lamb to a plate. Spoon pan drippings into prepared baking dish over the potatoes; stir to coat. Add salt to taste over the potatoes. Position the rack of lamb into the dish fatty side up, with the meaty part of the rack touching the bottom of the dish, and the bone tips arching over the potatoes. Spread Dijon mustard over the fatty side of the rack, and also the sides where the meat is exposed. Pat the reserved breadcrumb mixture onto the mustard to form a crust. Insert an oven thermometer if you have one.
-
Add the lamb to the oven and roast until the meat is medium rare (130°). This should take approximately 20–25 minutes. Remove roast from oven, place onto a cutting board and tent loosely with foil. Allow to rest for 10 minutes before cutting into chops and serving with the potatoes.