• Skip to main content
  • Skip to primary sidebar

Feast & Lore

Food stories featuring heritage recipes and new experiments.

  • Home
  • Recipes
  • About

Archives for February 2018

Lamb Stew with Chestnuts, Mushrooms, Cranberries and Polenta

February 18, 2018 By Caroline 5 Comments

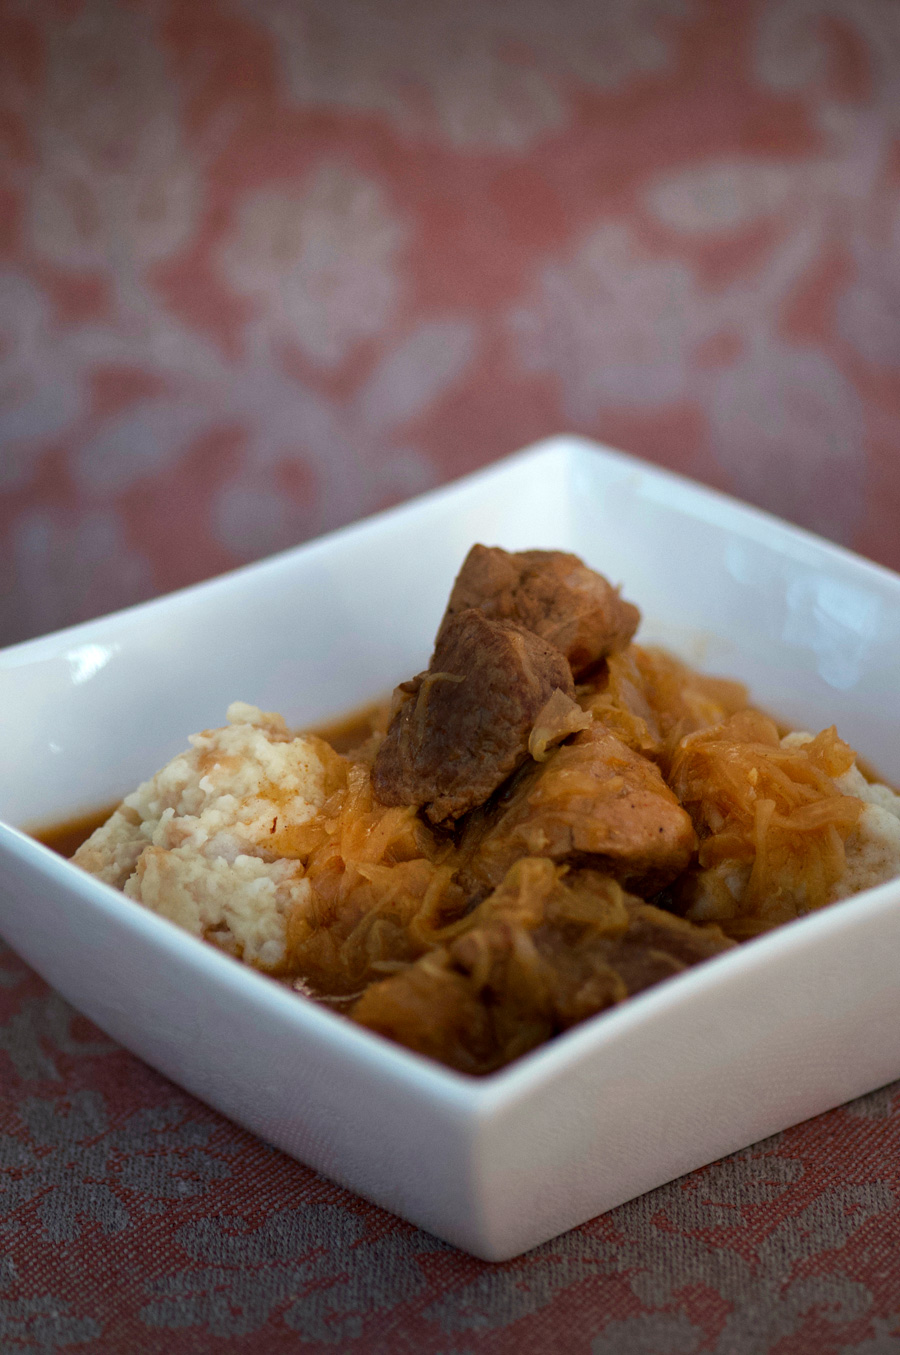
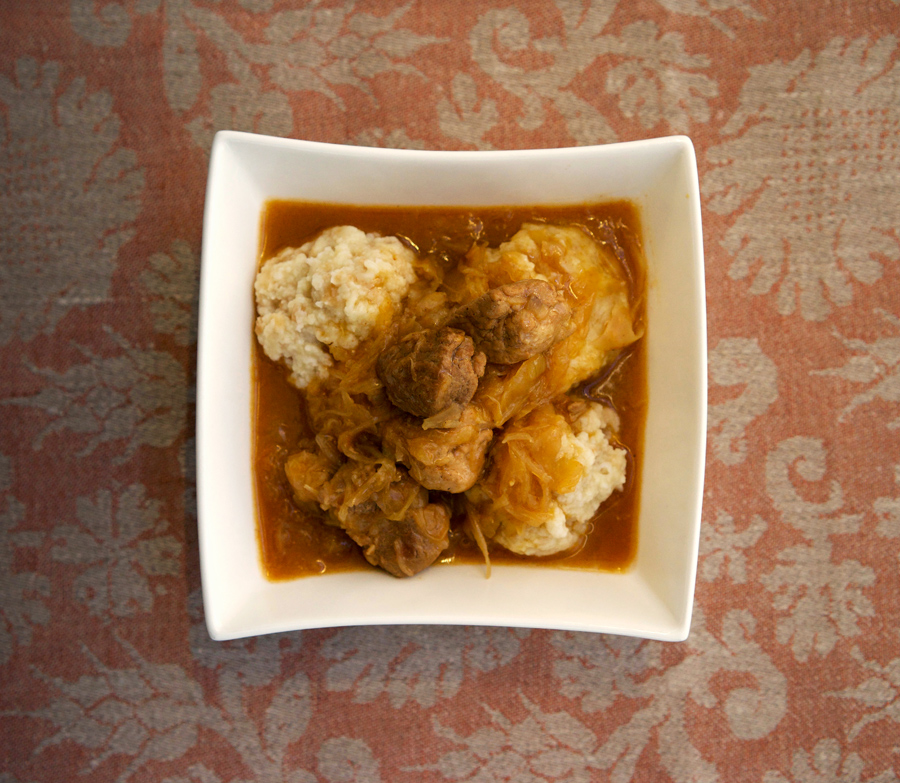
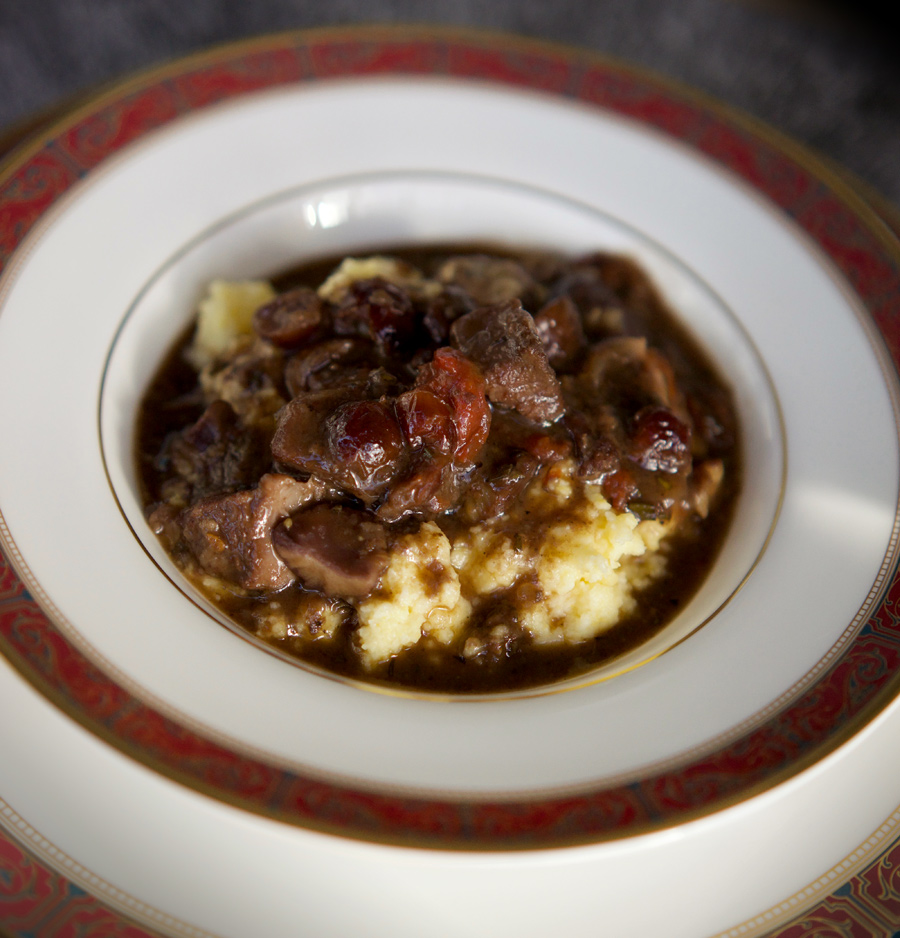
Special enough to serve at a dinner party, yet homey and comforting for a family night in, this lamb stew with chestnuts and cranberries is a favourite dish. Served over creamy polenta, and enhanced with mushrooms, pearl onions and a little tomato, it’s a comforting dish with sophistication. To save time, and also to avoid having to wait for chestnuts to be in season, buy packaged chestnuts that have already been peeled.

Lamb chestnut stew with mushrooms over polenta

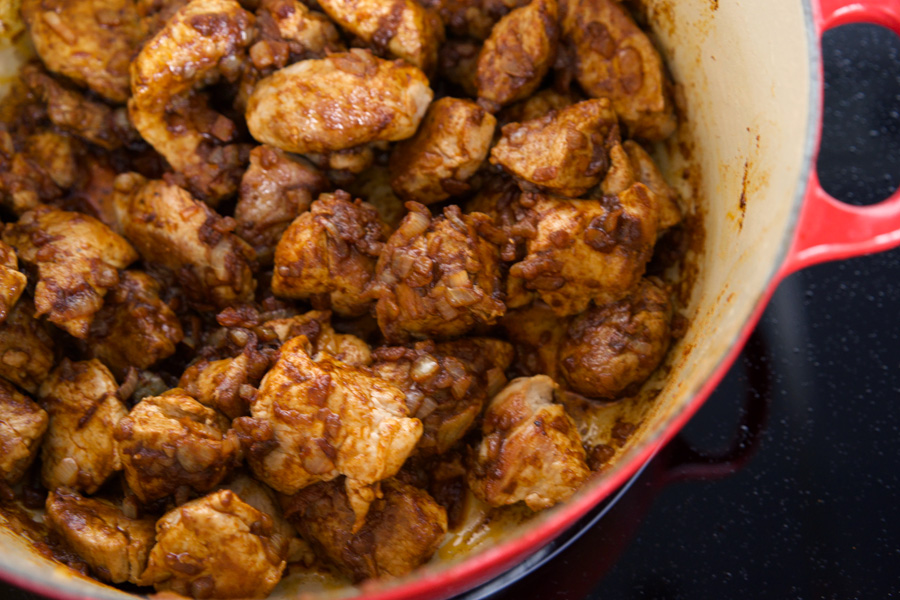
Of course like pretty much all stews, this lamb dish tastes just as good when reheated the next day (maybe even better!), so you if you want to make it ahead before company comes over, it will work perfectly. To begin, trim off any large areas of fat and season the lamb with salt and pepper. Dredge with all-purpose flour.

Lamb dredged in flour

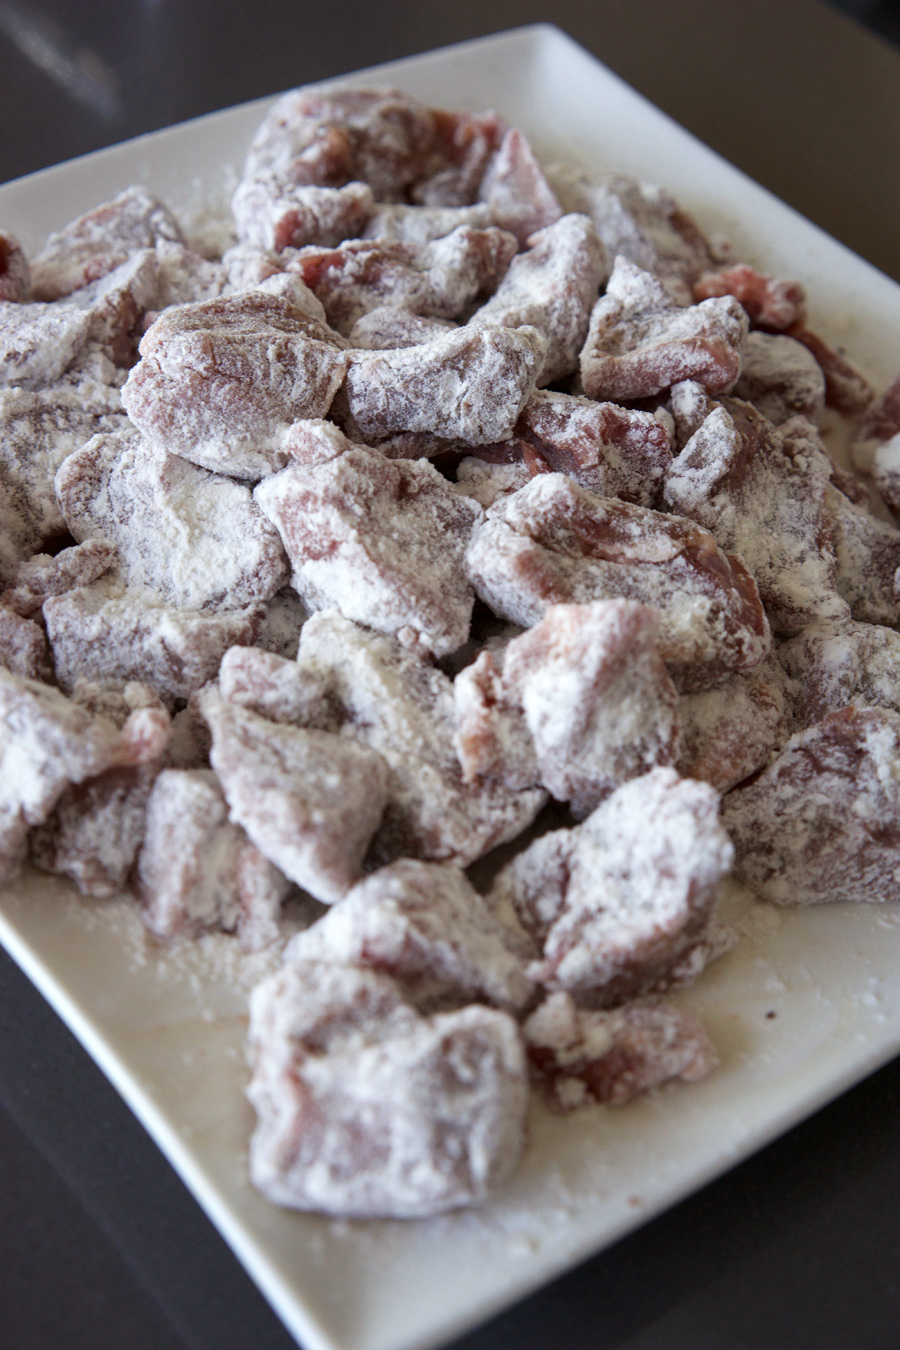
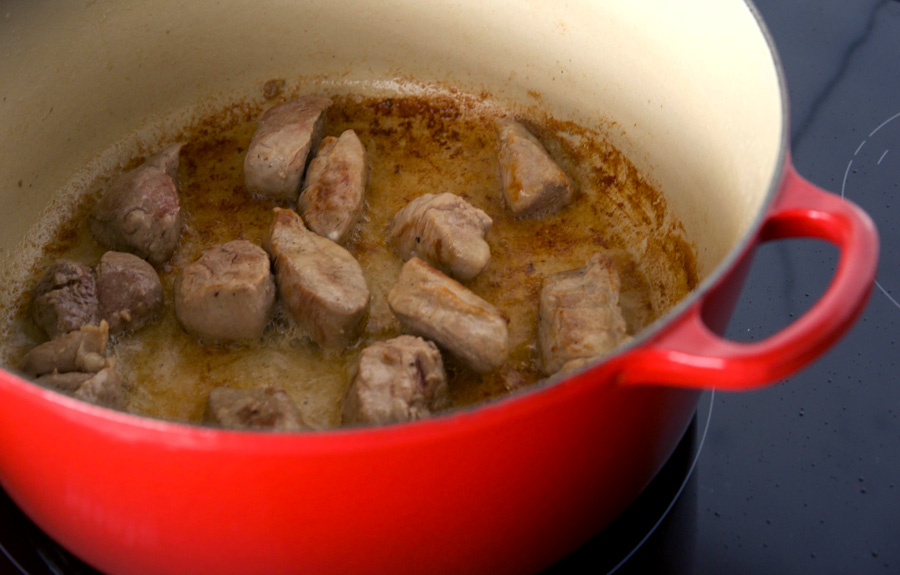
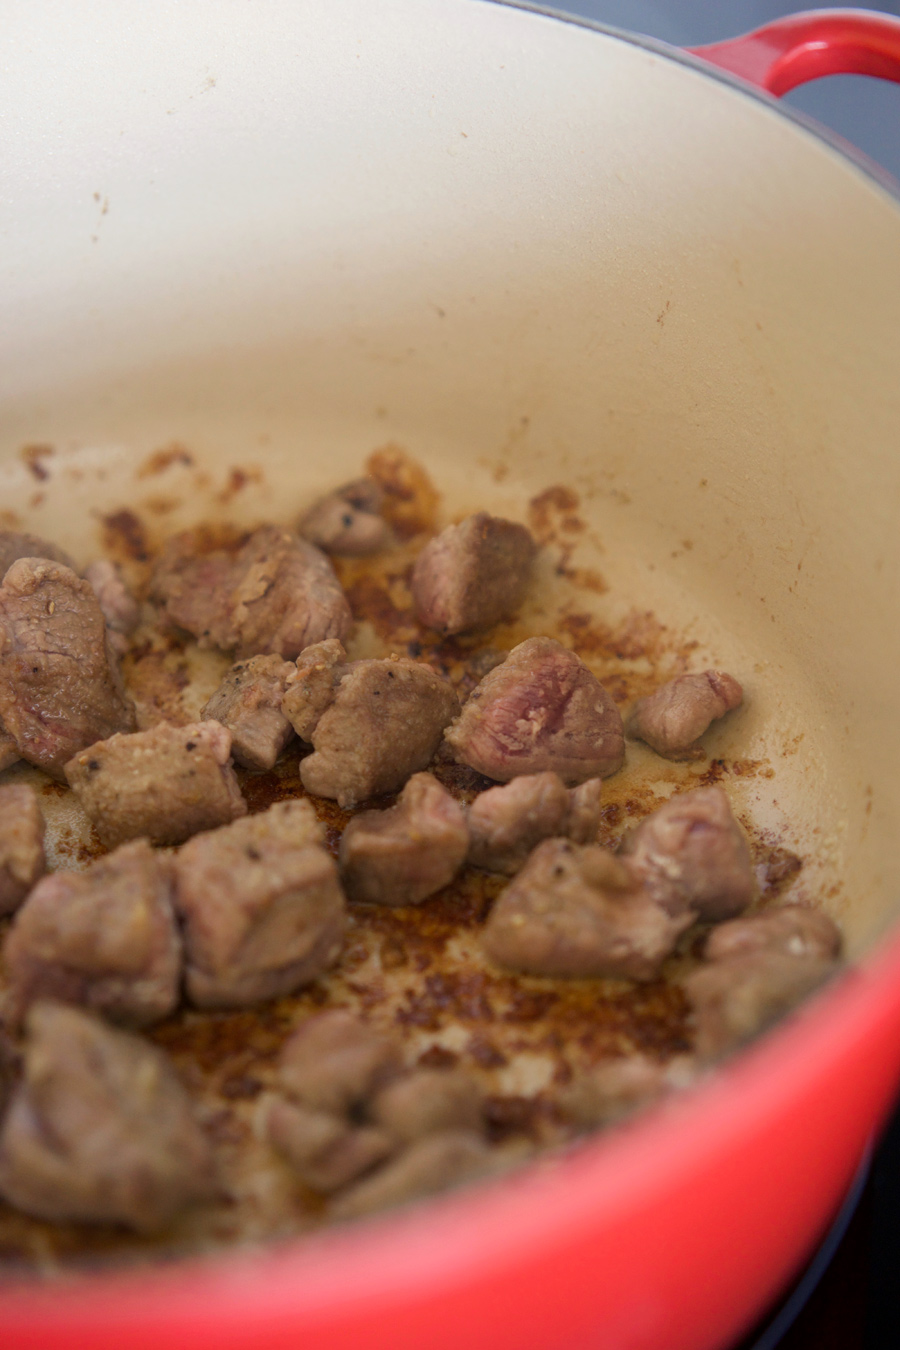
Heat two tablespoons of olive oil over medium-high heat. Add lamb in a single layer, in two batches if needed to avoid over-crowding the pot. Sear until browned on all sides, about five minutes. Transfer lamb to a plate. Some of the flour will stick to the bottom of the pot and will turn a deep golden colour. Adjust the heat down slightly if needed to avoid burning it—you’ll want to scrape this up to enhance the flavour of the stew in a few steps when you deglaze the pot with wine.

Browning meat over high heat

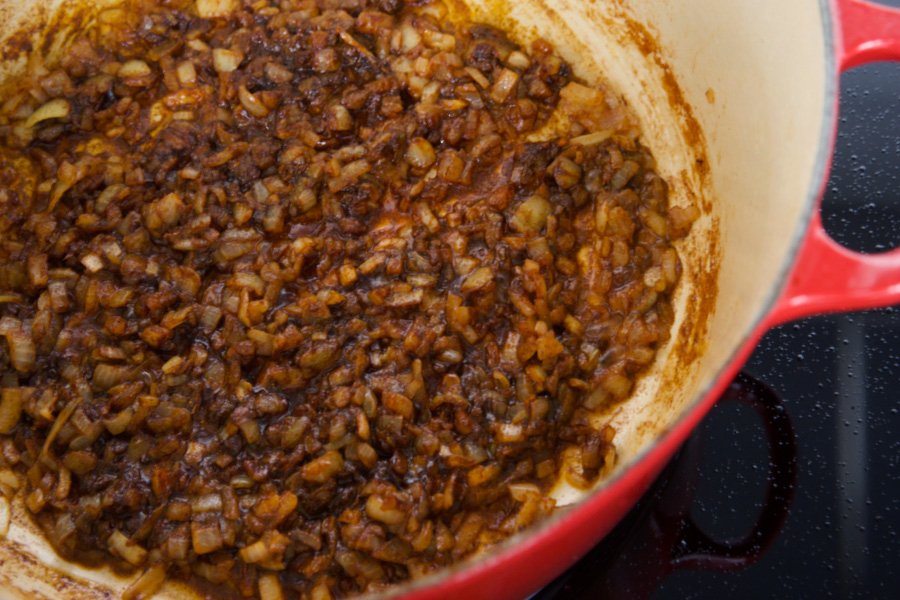
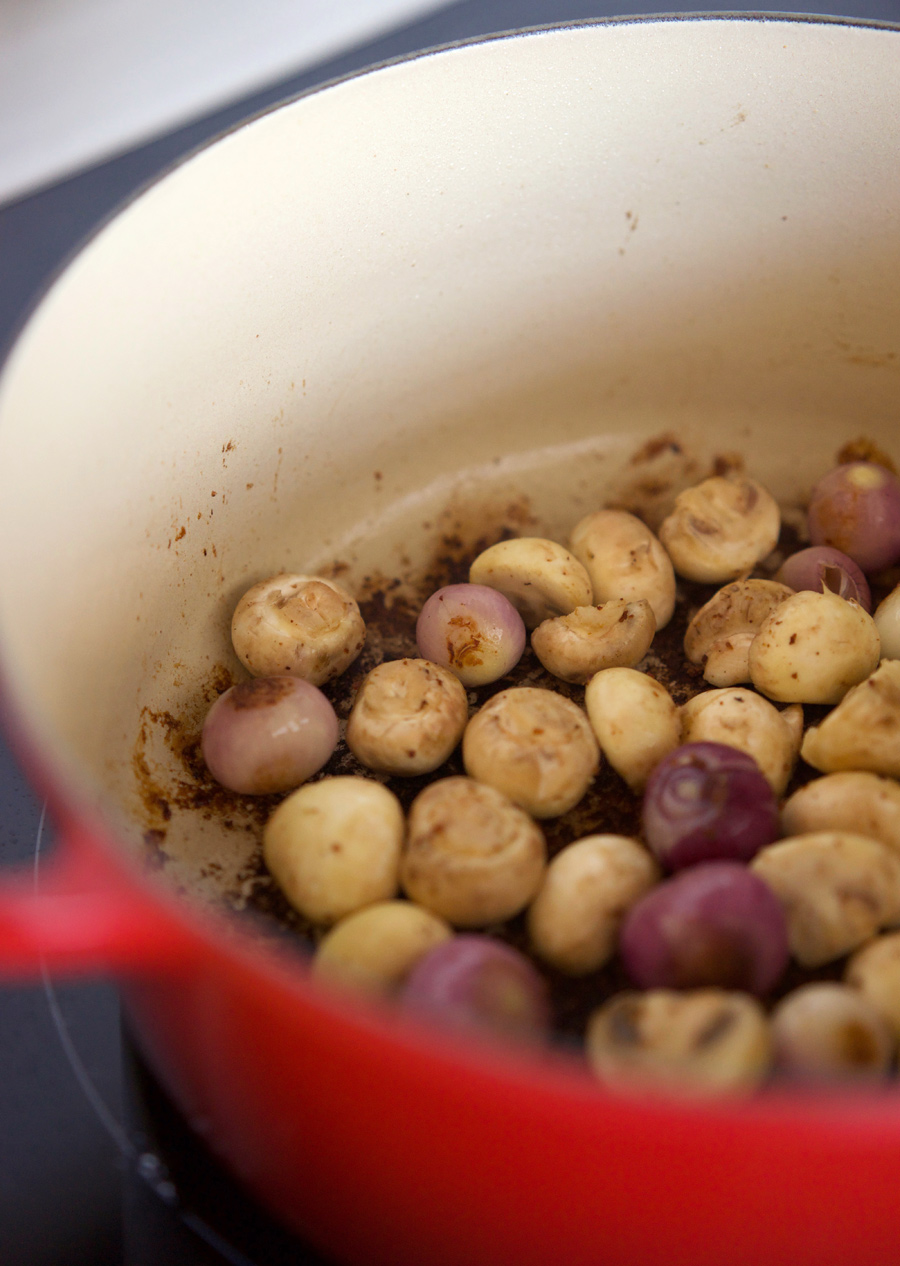
Add a bit more olive oil and add the onions, cooking until golden, about five minutes. Add mushrooms, seasoning with some salt. The mushrooms tend to soak up the oil (as well as the bits of flour that will have stuck to the pot from searing the lamb). If the pan gets too dry add a bit more olive oil. Cook until the mushrooms are well browned, about six minutes.

Browning mushrooms and onions

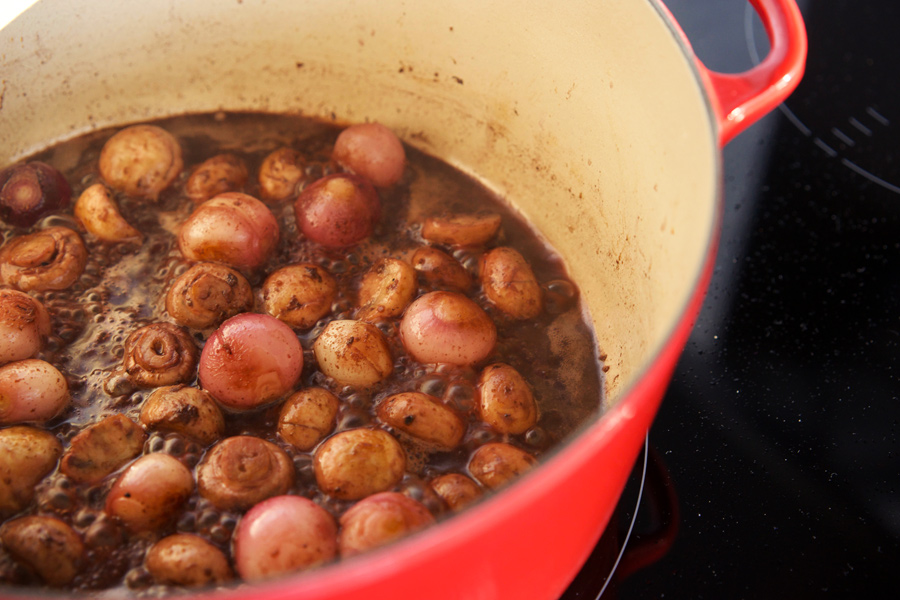
Next add red wine, scraping up the browned bits from the bottom of the pot. Cook until the wine is reduced by about half, approximately five minutes.

Deglazing the pot with wine

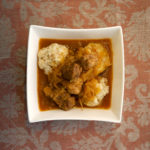
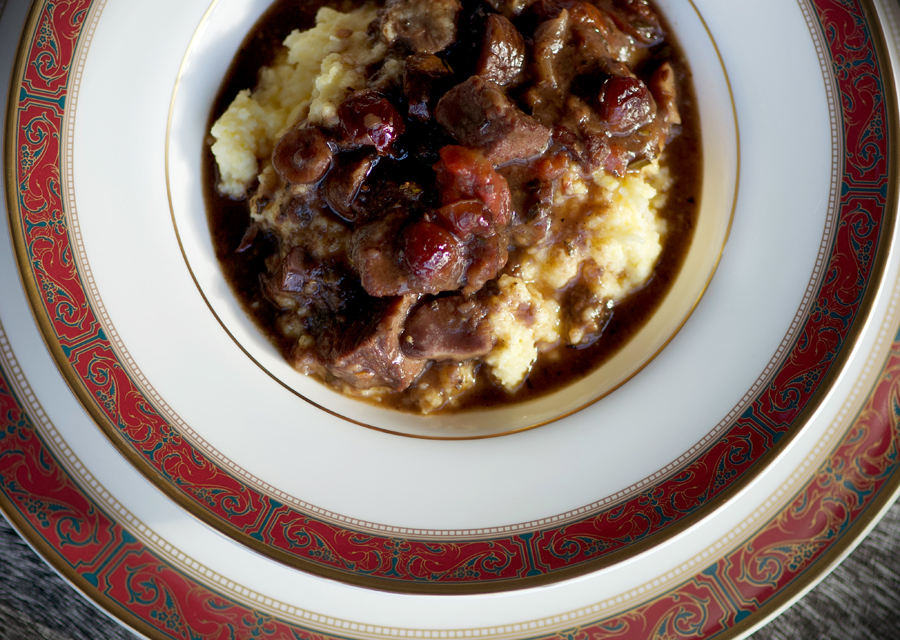
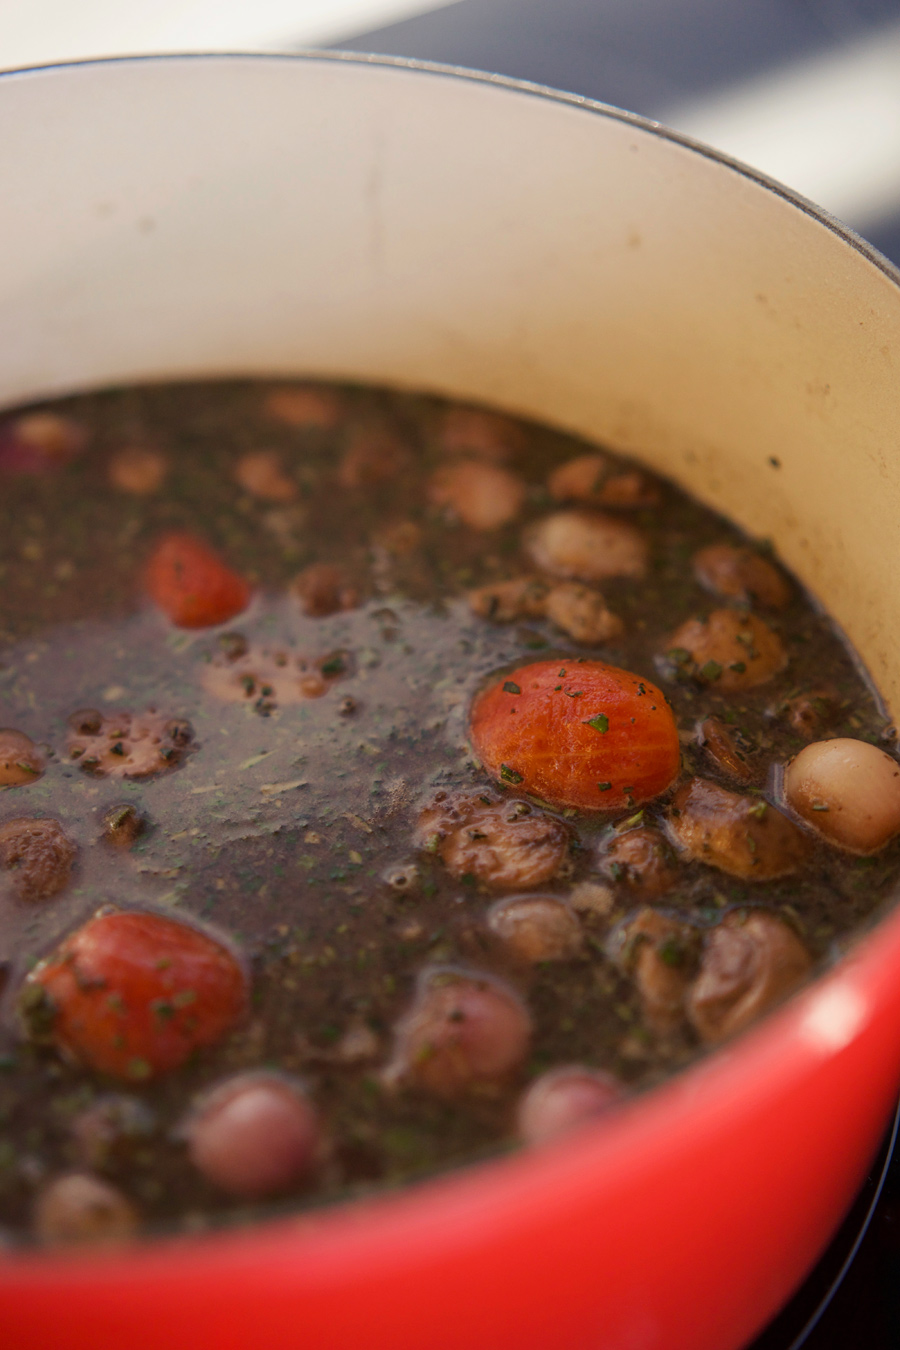
Add reserved lamb, beef stock, chestnuts, herbs and tomatoes. Bring to a simmer, and then reduce heat to medium-low. Simmer for two hours. I have become addicted to the method of using gelatine as a way to add body to sauces and stews, once I read about the method on Serious Eats. So toward the end of the cooking time, I combine a packet of gelatine with about 1/4 cup cold water, mix to combine, and add to the pot. This gives the sauce a lovely silky quality. Once the meat is tender and cooked through, about two hours, add cranberries, and cook for two minutes more. Serve in bowls, spooned over creamy polenta.

simmering lamb stew over low heat

The textures of the soft chestnuts, savoury lamb, mushrooms and creamy polenta come together to create a unique and delicious meal. The cranberries add a lovely tart pop to brighten the dish and add just a touch of sweetness that plays off of the lamb really well. This is a wonderful stew sure to become a classic favourite in your recipe collection.

Lamb Chestnut Stew with Mushrooms Onions and Cranberries

Recipe adapted from Martha Stewart’s Lamb-and-Chestnut-Stew.

Lamb chestnut stew with mushrooms over polenta
Print

Lamb Stew with Chestnuts and Cranberries

Course Main Course
Prep Time 30 minutes
Cook Time 2 hours
Total Time 2 hours 30 minutes
Servings 6

Ingredients

  • 3 100 g packages of peeled, roasted chesnuts
  • 2 lbs lamb stew meat, in 2" pieces
  • salt and pepper
  • 1/3 cup all purpose flour
  • 3 - 5 tbps olive oil
  • 6 oz red pearl onions
  • 12 oz button mushrooms
  • 1 cup red wine
  • 3 1/2 cups beef broth
  • 5 plum tomatoes, from a can
  • 1 tbps chopped fresh sage
  • 2 tbsp chopped fresh rosemary
  • 1/2 cup dried cranberries
  • 1 pouch/sachet of Gelatine (approx 7 g)
  • 1/4 cup water

Instructions

  1. Trim the lamb of any large areas of fat, and season with salt and pepper. Dredge with flour, shaking off the excess. Heat two tablespoons of olive oil in a large Dutch oven over medium-high heat. Add lamb in a single layer, in multiple batches if needed to avoid over-crowding the pot. Sear until brown on all sides, about five minutes. Transfer to a plate and set aside.

  2. Add additional olive oil to the pot, and add the onions, cooking until they are golden, about five minutes. Add mushrooms, season with salt to taste, and cook until well browned, about five minutes.

  3. Add red wine, scraping up any browned bits from the bottom of the pot. Cook until the wine is reduced by about half, approximately five minutes. Add reserved lamb, beef stock, chestnuts, herbs and tomatoes. Bring the mixture to a boil. Reduce heat to medium-low and simmer for two hours. Combine gelatine with 1/4 cold water and stir to combine. Add mixture to the pot and cook until the body is silkier and slightly thicker, about 5–10 minutes. Add cranberries and cook for two minutes. Serve over a bowl of creamy polenta.

Pinterest Lamb chestnut stew with polenta

Filed Under: Main, Recipe Tagged With: chestnuts, comfort food, cranberries, lamb, mushrooms, pearl onions, polenta, red wine, stew

The Heartbreak Cookie: Linzer Hearts

February 10, 2018 By Caroline 11 Comments

Slightly softened by their raspberry filling, fragrant with hazelnuts and a touch of cinnamon, Linzer cookies are a special treat. However, these pretty little cookies can be a real pain to make. The dough can be sticky and difficult to handle when you are after perfect scalloped edges and crisp center cutouts. I seem to be cursed every time I make these—from the motor on my food processor giving out in the middle of grinding nuts, to struggling to get the skins off the hazelnuts, to the dough sticking and ruining the shape of my cookies—I’ve experienced pretty much every way these can go wrong! It can be a real heartbreak to watch the shapes all smoosh and fall apart after all the work you’ve put into them. In this post I share the tips and tricks I’ve honed to get these cookies to turn out delicious and pretty with minimal fuss. Read on to learn how!

Linzer cookies with hearts


To start with, buy blanched hazelnuts with the skins already removed. This saves you a lot of tedious work trying to get them off yourself and makes no difference in the final flavour. Do be sure the toast the hazelnuts before grinding them, to bring out the full flavour. Prep the hazelnut and brown sugar, flour with dry ingredients, and whipped butter and brown sugar as shown below:

Ingredient prep to make Linzer cookies

After fluffing up the butter and brown sugar, blend in the nut mixture, followed by the flour mixture. The dough should have the texture and consistency shown in the photo below:

Linzer cookie dough whipped in bowl

Divide the cookie dough into two and place each half onto a sheet of plastic wrap. Flatten each ball into a disk, wrap and toss into the fridge to chill for two hours. This will make the dough easier to work with when it’s time to roll it out. Once it’s done chilling, prepare your work surface (this step is very important!) Lay a sheet of wax paper on the countertop (I like to tape the sides down with just a small piece of tape on each edge). If your wax paper is not very large, overlap two pieces. Then, lightly flour this surface (without the flour, the cookies will still stick to the wax paper—little buggers!) Next, remove one cookie dough disc from the fridge, and place onto the prepared work surface. Lightly dust the top with a bit of flour, then add another piece of wax paper on top. Roll out the dough to a thickness of 1/8″, running your hand over the dough to check that it is as even as possible throughout. I used a specific Linzer cookie cutter but found it to be very disappointing. The dough does not stay in the cutter and remains stubbornly on my work surface instead, as shown below.

Linzer dough rolled out and cut

To get around this, I used a metal offset spatula. First I gently lifted away the excess dough; then very carefully slid the spatula between the cookie and the wax paper to lift it off and transfer it to the waiting cookie sheet, taking care not to stretch the cookie. This was the most delicate part; once the cookie was on the spatula it was easy to flip it off onto the baking sheet. Once you’ve got all the cookies cut out and on the baking sheets, chill the baking sheets in the fridge for about 15 minutes. This is critical to help the cookies keep their shape for the next step: cutting out the centres for the pretty filling reveal.

Count your cookies, ideally you’ll have the same number on each cookie sheet. You need to cut out the centre window shape on half of the cookies. Cut the windows all out on the same baking sheet as they bake a bit faster than the cookie bottoms, if they are together you take them out of the oven a minute or so before the bottoms. Another disappointment with my cookie cutter: it came with an insert to hold the centre in position, however when you press down it leaves a terrible ring around the edge of the cookie. No good! Instead I just free-handed it, placing the hearts in the centre as best I could—most were pretty close.

handle cookies carefully with an offset spatula

Rather than discard the centres of the cookies, I bake them into adorable mini-linzers! They look cute when plated together, and are perfect for snacking 🙂

Linzer cookies with heart cutouts

Bake the cookies, removing them from the oven when the edges are lightly golden. Allow to rest for a minute or so (but not much longer) and then transfer the cookies to a wire rack to fully cool. I left the cookies on the baking sheet until they were fully cooled once and guess what, they wanted to stick to the cookie sheet, too! Take all of the bottoms and spread with a generous dollop of raspberry jam, keeping the edges clear so the jam doesn’t smoosh out and make a mess when you put the tops on.

Raspberry Jam Filling on Linzer Cookies

Take the rack of cookie tops, and sift them with icing sugar. I like to use a generous amount. So pretty!

Dusting Sugar on to Linzer Cookie Tops

Finally, assemble the tops to the bottoms, being careful not to get any powdered sugar on the jam areas. I found giving the tops a light tap underneath before adding to the cookie bottom helped a bit. Don’t forget to fill your baby-linzers, too. And you’re done! Well almost. You’ve just spent all this time making these beautiful cookies, but how to store them without getting powdered sugar all over the centres? I take a round metal tin, trace the lid onto some wax paper, and cut out perfectly fitted wax paper liners (about 5–6). Line the bottom, place cookies in a single layer, top with a wax paper sheet, and keep layering until your precious cookies are all carefully packaged up.

Linzer cookies stored in tin between layers of wax paper

A pain to make, but so delicious, I love Linzer cookies and wouldn’t have them any other way!

Adapted the Linzer Cookie Recipe at Epicurious.

Linzer cookies
The Heartbreak Cookie: Linzer Hearts
5 from 2 votes
Print

Linzer cookies

The cookie version of the famous Austrian cake, these lightly spiced cookies with raspberry filling are a delight!

Course Dessert
Cuisine Austrian
Prep Time 3 hours
Cook Time 12 minutes
Total Time 3 hours 12 minutes
Servings 24 cookies

Ingredients

  • 2/3 cup hazelnuts, blanched (skins removed) (3 oz)
  • 1/2 cup packed brown sugar, divided
  • 2 1/2 cups all-purpose flour
  • 1/2 tsp baking powder
  • 1/2 tsp salt
  • 1/4 tsp cinnamon
  • 1 cup unsalted butter (2 sticks), room temperature
  • 1 egg
  • 1 tsp vanilla
  • 250 ml seedless raspberry jam (approx 8 oz)
  • 1/2 cup icing sugar

Instructions

  1. Toast hazelnuts in a preheated 350° oven for 6–8 minutes. Allow to cool, then pulse in a food processor with 1/4 cup of brown sugar until finely ground.

  2. In a medium bowl, combine the flour, baking powder, salt and cinnamon.

  3. In a large bowl beat 1/4 cup brown sugar and butter with a hand-mixer until pale and fluffy, about 6 minutes. (About half that amount of time if using a stand-mixer) Add nut mixture and beat until well combined, about 1 minute. Beat in the egg and vanilla. Stir in the flour mixture until partly combined, then beat on low speed to fully combine. Divide dough into 2 and form each half into a flat disk on plastic wrap. Wrap and chill in the fridge for 2 hours.

  4. Prepare a clean counter surface with a large sheet of wax paper, using a small piece of tape on each side to help hold it in place. Sprinkle with flour. Remove one disk of dough from the fridge and place onto prepared surface. very lightly flour the top of the dough and add an additional piece of wax paper on top. Roll out the dough to 1/8" thick, and remove the top layer of wax paper.

  5. Have two cookie sheets ready beside your work area. Using cookie cutter, cut cookies as close together as possible to maximize the dough. If the cookies don't stay in your cutter to transfer onto the cookie sheet and remain on the wax paper instead, gently lift away the excess dough using an offset metal spatula until the edges of the first row of cookies are exposed. Gently slide the offset spatula between the cookie and the wax paper layer, lifting the cookie being careful not to allow it to warp or stretch to maintain the shape. Transfer to cookie sheet, leaving 1" between each cookie. Repeat with remaining dough until your two cookie sheets are full. Transfer the cookie sheets to the fridge to chill for 15 minutes. 

  6. Preheat oven to 350°. Once chilled, remove cookies from fridge and using the smaller heart cutter, cut out the centres from half of the cookies. Gently remove the centres, (I found a toothpick worked well to flick them out while preserving their shape). Drop the small cutouts onto the baking sheet in the spaces between the cookies, distributing on the two sheets if needed. Place in preheated oven and bake for 10 – 12 minutes, until edges are lightly golden. Allow cookies to cool for a few minutes on the cookie sheet, then transfer carefully to a wire rack, keeping the tops separate from the bottoms (and mini-hearts will be too small for the rack, they can cool on a plate).

  7. Asses your dough scraps, press together into a disk and transfer to the fridge to chill. Dough can be re-rolled once or twice max in this manner. Complete cookie cutting and baking process until all cookies are baked and ready.

  8. Once cool, take the wire racks with the top halves with the cutouts and place on a baking sheet. Sift icing sugar on top and set aside.

  9. Spread jam onto the bottom layers, using a generous amount and keeping it in the centre with a 1/8" clear area around the edges of the cookies. As the jam squishes out when you add the tops, this will keep them neat and prevent the jam from oozing out the sides. Carefully add the pretty dusted tops. I like filling the baby heart cookies with jam as well, without any sugar on top.

  10. These cookies are best stored in a tin so they can breathe. Cut 5 or so sheets of wax paper to the size of your tin (I trace the lid as a guide). Line the bottom, add the first row of cookies carefully in a single layer; top with a fitted wax paper sheet, layer on the next row of cookies, and so on, until the tin is full. Sprinkle in the baby hearts as you go (if you don't snack on them all first!)

Filed Under: Dessert, Recipe Tagged With: cookie, Heart, Linzer, raspberry

Sock-it-to-me Sauerkraut Goulash with Bread Dumplings

February 4, 2018 By Caroline 8 Comments

Spicy, fermented goodness with simple, old-country heritage, this dish dates back to the Austro-Hungarian Empire. Its actual name is Szégediner Gulasch, but growing up no one could pronounce the name properly, so it came to be known as “Sock-it-to-me Goulash.” This recipe was passed down to me from Grandma and it remains a family favourite. The stick-to-your-ribs stew is served over homemade German-style bread dumplings, also known as Semmelknoedel. A great dish to make ahead, it just gets better every time you heat it up!


Sauerkraut pork goulasch with bread dumplings

Pork shoulder is best for this dish as it will be the most tender, however I can’t always get it at the grocery store. Pork loin roast is a good substitute, even though it is lean the sauerkraut is tenderizing and it still tastes great.

Let me share a tip it took me so many years to learn the hard way: DO NOT overcrowd the pot when you brown meat! If you do, you will find the meat steaming in its own liquid instead of turning crisp and golden brown. There are a few factors at play that cause this: first, all meat has some water content. If the pot is too crowded, all of the water releases and doesn’t come into contact with the hot surface of your pot, so it will remain and build until your meat is swimming in liquid for more of a steam/braise than a browning. The second issue I believe at play is that the temperature of the pot is more difficult to maintain at the high heat needed for a good sear when overcrowded, further compromising your ability to achieve a proper sear on just the outer edges of the meat. If you allow generous spaces between the pieces as shown below, you will achieve a lovely golden brown on the meat, and also build up a nice crust on the bottom of the pan that will deglaze when you add the onions, forming the base of a flavourful sauce. It’s totally worth the effort of splitting into batches to achieve the correct level of browning.

browning pork to build flavour

A word on using lard. No one seems to speak of using it and I rarely see any recipes calling for this type of fat. Most people avoid cooking with it like the plague, thinking it to be extremely unhealthy. However, according to this article by the Huffington Post, it has “less saturated fat than butter, it’s higher in monounsaturated fats which are said to lower LDL cholesterol; and it has none of the trans fat that shortening does”. But really, the real reason I use lard is because Grandma told me under no circumstances to ever even think of substituting it with anything else. She knew instinctively that it can handle high heat without smoking, and using true rendered fat allows the onions to caramelize in a way they could not with olive oil. It gives just the right silky body to the final dish without imparting any unwanted flavours.

Sweet Paprika is a brighter red, while hot Paprika is more golden and smokey

Paprika is an essential ingredient in Hungarian kitchens. Not to be confused with Spanish Paprika which has a totally different flavour, you must use true Szeged Hungarian-style Paprika for this recipe. If I were to describe the difference, I would say Hungarian Paprika is smokey, deep and almost more chili-like, while Spanish Paprika I have had is more sweet with essence of fresh peppers. Once I tried mixing a bit of Spanish Paprika into the Goulash, thinking it would add an additional flavour dimension, but it was completely out of place and didn’t work at all. For this recipe, I like to make it a bit spicy and love to mix half sweet with half hot Hungarian Paprika. It gives the dish a some edge that compliments the sauerkraut for the best possible mash-up. However, you can adjust the mix to as much or as little heat as you like. Just don’t substitute with Spanish-style Paprika, please!

Cooking onions with Paprika

When cooking with Hungarian Paprika, it is always recommended to cook it at medium-high heat in some fat to maximize the flavour, so I recommend adding it to the onions just before returning the meat to the pot, stirring for a minute or so to bring out the spice. Then you can add the meat back in and top it off with water for a long, gentle simmer to tenderize the pork. Finally, the sauerkraut is added near the end and cooked a bit longer to further tenderize the meat. When you use good quality imported sauerkraut there is no need to drain the liquid, I put the whole can, juices and all, into the pot.

Returning Pork to Pot

While the goulash is cooking, you can make the bread dumplings. These dumplings have always fascinated me—how do regular kaiser buns turn into these awesome morsels, with a firm texture that perfectly compliments the goulash? Keep reading to find out!

Torn kaiser rolls on a baking sheet ready to be toasted

To begin, tear up the kaisers and spread onto a baking sheet. Toast in a preheated oven for under 10 minutes until they are just a bit dry and lightly toasted. Transfer them into a large bowl where you’ll mix in egg and milk and allow it to absorb (think: french toast-ish). But don’t wait too long, you need to add the flour (along with any seasonings) before the liquid fully absorbs and then mash up the whole thing until you get a sticky, dough-like consistency (see lower right pic).

Mix egg and flour with torn bread and flour

Then you just shape them into balls, before dropping them into simmering water to boil until they are cooked through, firm but fluffy. After having these, I just can’t go back to potatoes with this goulash, only bread dumplings will do!

Shape bread dumplings into balls

Kimchi might be the cool, trendy cabbage the kids are into these days, but trust me, Grandma always knew best. This goulash is savoury, spicy, fermented goodness with simple, old-country heritage that truly satisfies.

Hungarian Goulasch with Sauerkraut and Bread Dumplings

Hungarian Goulasch with Sauerkraut and Bread Dumplings
5 from 2 votes
Print

Sock-it-to-me Sauerkraut Goulash

Grandma's hearty and spicy recipe for pork goulash with sauerkraut, served with bread dumplings.

Course Main Course, Side Dish
Cuisine Austrian, German, Hungarian
Prep Time 45 minutes
Cook Time 1 hour 50 minutes
Total Time 2 hours 15 minutes
Servings 8

Ingredients

Goulash

  • 2 medium onions, chopped
  • 1 796 ml can imported mild wine German sauerkraut
  • 1/4 cup Tenderflake or other brand of lard
  • 2 1/2 lbs pork stew meat, cubed
  • 1 tbsp sweet Hungarian Paprika
  • 1 tbsp hot Hungarian Paprika
  • 1/4 tsp Cayenne pepper
  • 1 tsp salt
  • 3 tbsp cornstarch
  • 2 tbsp flour

Bread Dumplings

  • 3 large kaiser rolls, torn into pieces
  • 1/2 tsp salt
  • 2 eggs
  • 1 1/2 cups milk
  • 2 cups flour

Instructions

Goulash

  1. In a large dutch oven or heavy pot, melt lard on high heat. Add 1/3 - 1/2 of the meat, ensuring the pot is not overcrowded and there are spaces between the meat pieces to ensure effective browning. Brown meat evenly on all sides until deep golden brown in places, about 5 minutes. Transfer meat to a bowl to rest and continue with the rest of the pork until all of the meat has been well-browned and transferred into the bowl. Add onions to the pot, reduce heat to medium-high and cook until light golden, stirring to avoid burning. Scrape up the bottom of the pot to release any browned bits of meat as you stir the onions. Add Paprika and Cayenne and stir into the onions; cook about 1 minute to bring out the flavours in the spices. 

  2. Add water to cover meat. Bring to a boil and add salt. Reduce heat to medium-low and simmer until the meat is tender, about 45 minutes. Add sauerkraut and cook an additional 30 minutes.

  3. In a small bowl combine about 1/2 cup water with cornstarch and flour and stir well to dissolve. Add to pot and stir until thickened, about 5 minutes. Serve with bread dumplings.

Bread dumplings

  1. Preheat oven to 325°. Spread torn Kaiser roll pieces out on a baking sheet. Add to preheated oven and toast for 7 minutes, until bread is just lightly toasted. Remove from oven and place in a large bowl with salt.

  2. In a separate bowl, beat eggs with milk and add to bread mixture, stirring to allow the bread to soak up the liquid. Sprinkle with the flour and use a fork to shred the mixture into a dough-like consistency. The mixture will be sticky, so keep some extra flour aside that you can dip your hands into, to reduce the dough sticking to your hands. Form dough into 1.5" balls and place on a plate. Bring a large pot of water to a gentle simmer. When all of the balls are ready add them to the water to a maximum of a single layer at the bottom of the pot. Simmer for about 20 minutes—the balls will rise up to the top when they are cooked through. Remove from the water with a slotted spoon and reserve until ready to serve with the goulash.

Spicy, fermented, hearty goodness in a bowl!,

Filed Under: Main, Recipe Tagged With: bread dumplings, dumplings, Goulasch, Hearty, Paprika, Pork, Sauerkraut, Semmelknoedel, stew, Szeged, Szekelygulyas

Primary Sidebar

Welcome to my kitchen journal, a place where I will share my favourite heritage recipes honed over the years, as well as document new evolutions and experiments along the way. Great feasts become vehicles for fond memories—the best meals are the ones someone made with love, for you. Follow me to explore traditions, document stories and experience the joy of the feast. Read More…

  • Facebook
  • Instagram
  • Pinterest
  • Twitter
  • YouTube

Don’t miss a story!

Get email updates

Copyright © 2026