• Skip to content
  • Skip to primary sidebar

Feast & Lore

Food stories featuring heritage recipes and new experiments.

  • Home
  • Recipes
  • About

Breakfast

Breakfast Chia Pudding with Mango and Blackberries

January 1, 2018 By Caroline 7 Comments

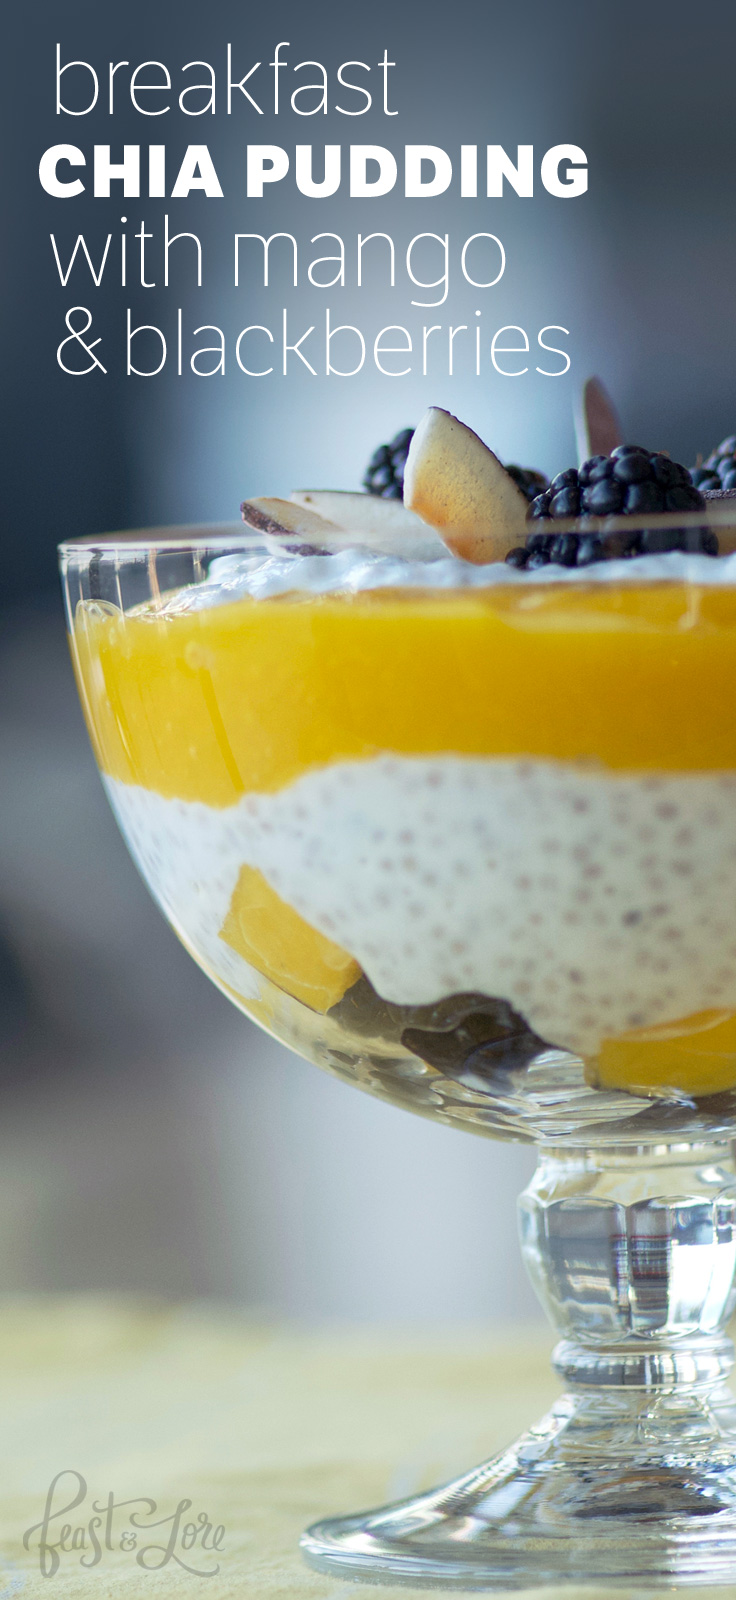
One small change in your weekly routine can boost your overall well-being. Taking only 15 minutes of active time to make, this chia pudding can be added to your weekly breakfast rotation with ease. Among the healthiest superfoods on the planet, chia seeds deliver a massive amount of nutrition with very few calories. The tiny seeds pack in protein, fibre, antioxidants, iron and calcium. Lucious mango sauce and juicy blackberries top the pudding for a breakfast you’ll actually look forward to waking up to. What I love about this quick fix is how it keeps me full and energized all morning.


Berries, chia seed pudding and mango are layered into a healthy breakfast

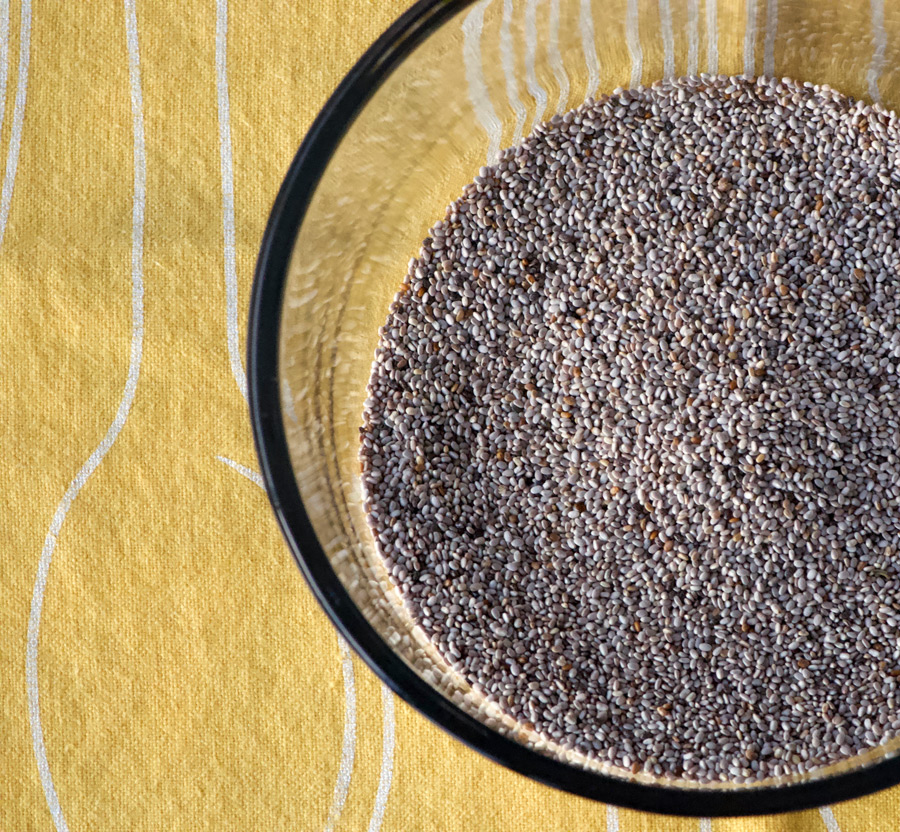
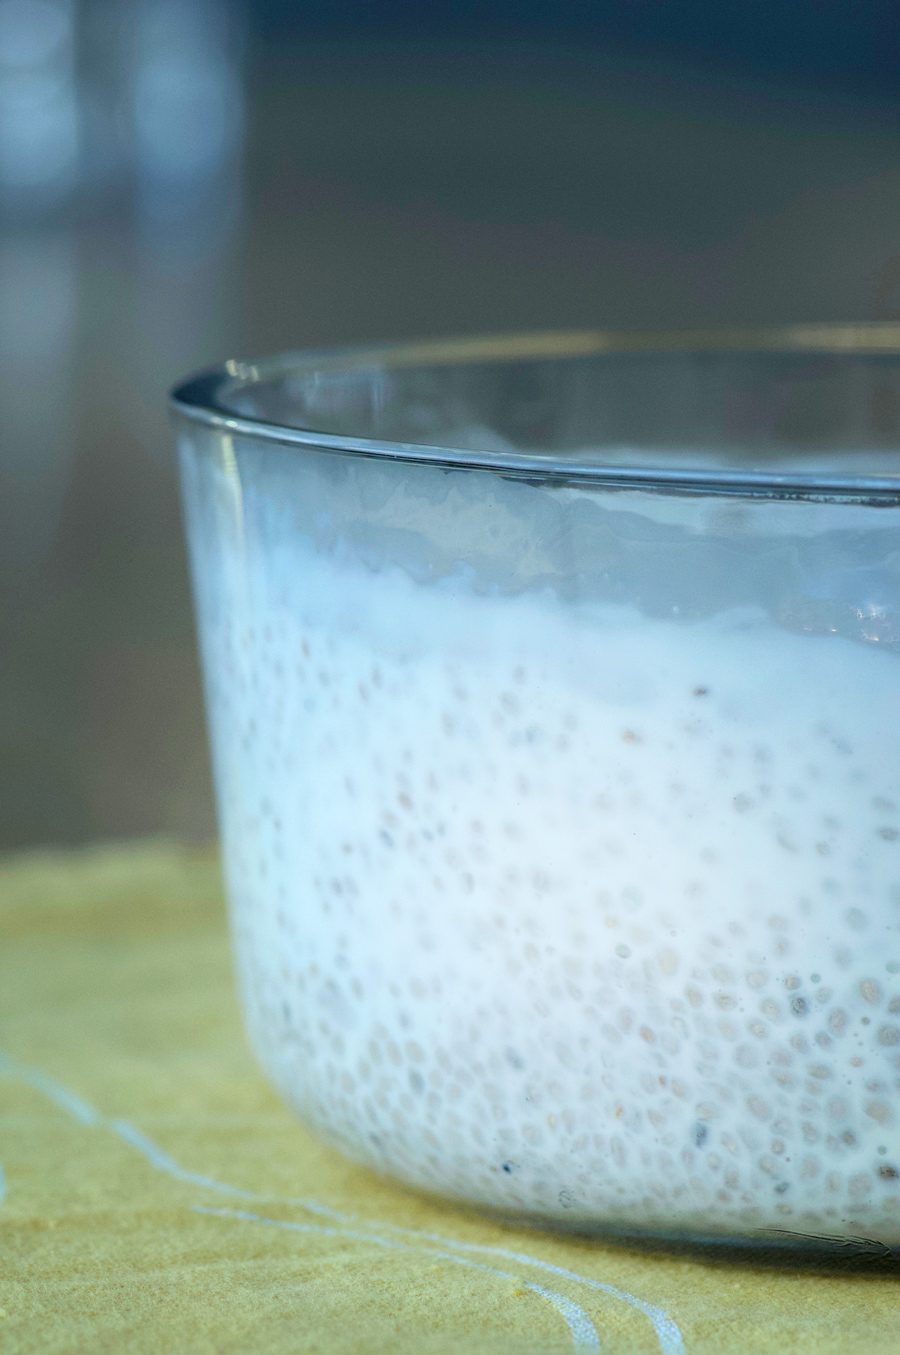
Begin the night before, as the chia seeds need time to soak and thicken. In a sealable container, add the chia seeds first. (Start with the chia seeds on the bottom as it’s easier to stir them in that way. They are very light and will float when added on top of liquid.) I prefer using white chia seeds as I find the black seeds tend to clump up and don’t combine with the milk quite as well (and the white seeds look a bit nicer) but black chia seeds will work if they are all you have on hand.

Plain whole white chia seeds

Next, add your milk. This can be any milk of your choice—I just use regular 2% dairy, but you can also use almond milk, soy, etc. Give it a good stir with a fork and let sit on the counter for a minute or two. Then stir it up again before covering and placing in the fridge to rest overnight. I find this extra stir helps ensure the seeds don’t settle on the bottom of the dish, where they can clump together a bit the next day.

Soak chia seeds in milk overnight

The next morning, you’ll notice the milk has thickened and the chia seeds have absorbed much of the liquid. Add in plain greek yogurt and stir to create a nice, rich pudding texture. Set aside—you now have a versatile chia pudding base that can become a healthy staple in your breakfast repertoire!

Greek yogurt is added to chia mixture to make chia pudding

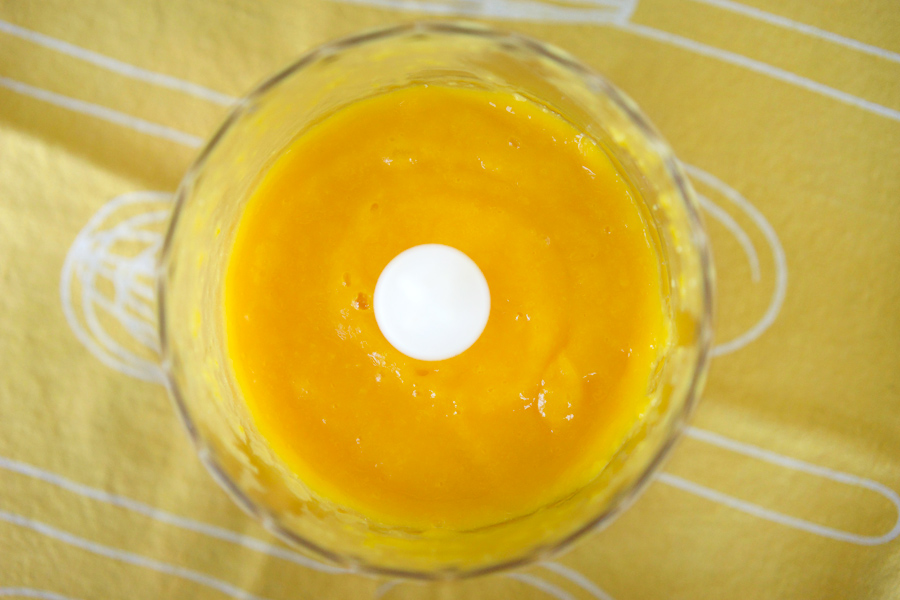
Next, make the mango puree (you can also make this the night before to save yourself time in the morning). Combine mango chunks and the juice of half a lemon and puree. Give it a taste—if your mangos weren’t quite ripe and on the firm side, the puree might need a touch of sugar or honey. If your mangos are very ripe and sweet, add in the second half of the lemon juice. Ideally, make this with very ripe mangos so that no additional sugar is required. In fact, this puree is a great way to use up over-ripe mango that has become fibrous as the blender breaks down all the stringy bits, and lemon juice brings back the tart quality of fresh mango.

Fresh mango and lemon juice are blended into a delicious sauce

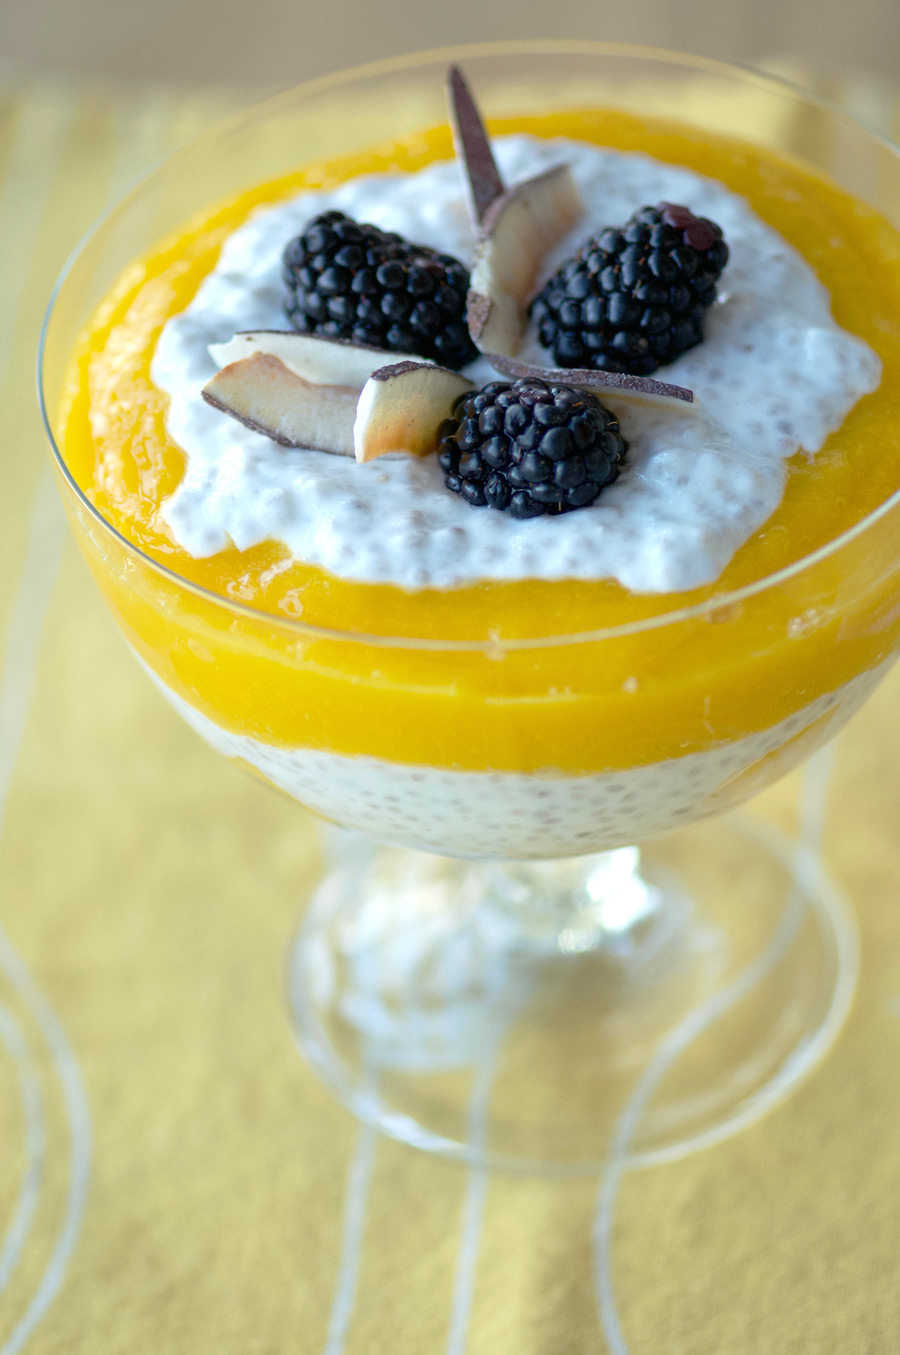
Finally, layer all of the ingredients into your breakfast serving. Confession: I don’t use fancy parfait glasses like the one in the photos for my daily breakfast, just a regular bowl does just fine! But the glass does show the layers off well, and if you were making this for brunch with friends, they are a nice touch.

Start with fresh blackberries at the bottom of the dish. Next layer on the chia pudding, followed by mango sauce and then a bit more chia pudding on top with a few berries for garnish. (Use 1/3 of the chia pudding per serving) If you have some large flake coconut it adds a nice crunch on top.

There is enough chia pudding for 3 servings—it keeps well in the fridge for up to 4 days, along with the mango puree. Even if you make a batch of this for yourself once per week, you’ll be having a superfood breakfast regularly to give you energy and boost your health. No time to make the mango puree? No problem—just use any fresh berries with a bit of honey and granola to top off the chia pudding.

Blackberries, chia pudding and blackberries are layered into a parfait

Try making it on a Sunday night and see how you feel by Wednesday after having it for three breakfasts in a row. Personally, I’m hooked—the mix of protein, nutrients and fresh fruit keep my energy high and my morning well-fuelled. It’s amazing how one small change to your weekly routine can make a big difference to how you feel. You just might get hooked on this healthy indulgence too, and make chia pudding part of your morning breakfast routine. I would love to hear if chia pudding is your new binge—leave a comment and let me know what you think!

Chia Pudding with Mango Sauce and Blackberries
Healthy chia pudding is layered with mango puree and blackberries
5 from 2 votes
Print

Chia pudding with mango and blackberries

Healthy, delicious and filling, I make this for chia pudding for breakfast every week, changing up the berries depending on what looks good at the market that week.

Course Breakfast
Cuisine American
Prep Time 15 minutes
Servings 3

Ingredients

Chia pudding

  • 1/4 cup whole white chia seeds
  • 1 cup milk of your choice (dairy, almond, anything goes)
  • 1 cup plain greek yogurt
  • blackberries or any berries of your choice
  • large flake coconut for garnish

Mango puree

  • 1 1/2 cups chopped mango (about 2 medium)
  • 1 lemon (juiced)

Instructions

  1. Place chia seeds in a medium bowl (large enough to hold 2 cups). Add milk over top of seeds, stirring well with a fork. Let sit on counter for 2–3 minutes, and stir again. Transfer to fridge for a minimum of six hours, or overnight.

  2. Add yogurt to the chia seed mixture and stir well to combine to create a nice pudding texture.

  3. Combine mango and half of the lemon juice in a small food processor. Blend until well combined. Taste the puree—depending on how ripe and sweet your mangos are, you may want to either add a bit of sugar or honey if it tastes sour, or add more lemon juice if the mangos were very ripe and it is tasting too sweet.

  4. In your serving bowl, layer berries, some chia pudding, mango puree and a bit more chia pudding. (Use a third of the pudding per serving) Top with additional berries and garnish with coconut flakes. Serve and enjoy!

Recipe Notes

The mango puree is a great natural sweetener, but if you don't have time to make it, just use your favourite berries and drizzle with a bit of honey. Also tastes great with a bit of granola on top.

Filed Under: Breakfast, Recipe Tagged With: berries, blackberries, blackberry, chia, Healthy, Mango, pudding, yogurt

Pancetta Parmigiano-Reggiano Quiche with Swiss Chard

September 18, 2017 By Caroline 2 Comments

I have to confess, I don’t understand the hype in Toronto when it comes to brunch. This means one has to get up, get ready, and travel to the brunch destination for the pleasure of waiting in line to pay quite a bit for dishes that are mostly made of inexpensive ingredients like eggs, toast and the like. I simply can’t be bothered when I can make amazing breakfasts at home, in my pyjamas, with a nice cup of coffee while I whip it up. Quiche: the quintessential brunch dish, can be quick and easy enough to make for a simple weekend breakfast at home. Then again, if you want to entertain, it’s special enough to dazzle your guests.

This version includes crisp Pancetta, freshly grated Parmigiano Reggiano cheese, and Swiss Chard to balance all that richness. Using a store-bought frozen pie crust speeds things up and since it’s just a single-crust pie, does the job rather nicely. The recipe makes a single 9″ quiche, but it easily doubles if you wanted to make enough for a crowd.

slice of quiche studded with pancetta and swiss chard

To start, you’ll want to prep your crust according the directions it came with. For mine, I let it defrost for about 15 minutes while heating up the oven. I pricked it all over with a fork before blind baking it for 13 minutes until it was a light golden. Then it can cool while you prepare all the other ingredients.

Nothing but freshly grated Parmigiano Reggiano cheese will do for this recipe, no substituting pre-grated, non-refrigerated stuff here! The real thing adds a deep, almost nutty flavour and amazing texture to the final quiche. I use the large holes on a box grater for the best result.

Parmigiano reggiano in front of a metal grater

Start the Pancetta in a large skillet, and fry until crisp. Then add the chopped Swiss Chard. You’l look at it and wonder how all this will ever fit into that pie crust, but don’t worry, it will reduce right down into a more management amount.

Swiss Chard fills a saute pan, steam rises

After 5–10 minutes, the Swiss Chard will wilt and the Pancetta will reemerge from the bottom of the pan. When it looks like the photo below, it’s ready! (Don’t overdo it, you want it well reduced but not completely dry).

Swiss chard shrinks as it cooks to reveal the pancetta

Meanwhile, whip up the eggs, milk, cream, nutmeg and Parmigiano Reggiano cheese in a bowl. I find between the cheese and the Pancetta, there is enough salt that no additional need be added. You can use some freshly ground pepper here, though.

Eggs, parmigiano reggiano, milk, cream and nutmeg in a bowl

Now you simply assemble everything into the crust. The chard and Pancetta go in first. Next, top it up with the egg filling. I save a bit of the cheese to sprinkle on top to enhance the top “crust”.

Swiss chard and pancetta line the bottom of the crust

Egg mixture with cheese fills the crust to the top

Bake at 375° for 25 minutes, and voilà… beautiful quiche. Your kitchen will smell amazing right about now.

Quiche shot from above on linens

I find cutting the quiche into quarters for serving works well. Add a small side salad and a glass of bubbly, and you are off to one spectacular breakfast. Look at that filling: fluffy, loaded with veg, cheese and salty pancetta. And there’s a pretty nice flake on that crust. Why get all ready to go out for brunch when you can make this so easily at home in your PJs?

Super close up of the baked quiche filling

Crisp Pancetta with Swiss Chard makes for a delicious quiche!
Quiche with rose bubbly and side salad
5 from 1 vote
Print

Pancetta Parmigiano-Reggiano Quiche with Swiss Chard

My favourite quiche with savoury cheese and bacon flavours.

Course Breakfast, Brunch
Cuisine French
Prep Time 15 minutes
Cook Time 40 minutes
Total Time 55 minutes
Servings 4

Ingredients

  • 1 9" frozen pie shell
  • 5 oz (140 g) Swiss chard, stems removed and chopped
  • 2.5 oz (75 g) Pancetta, cubed
  • 4 eggs
  • 1/3 cup milk (2%)
  • 1/3 cup half and half cream (10%)
  • 1/4 tsp ground nutmeg
  • freshly ground pepper to taste
  • 2 oz (55 g) Grated Parmigiano-Reggiano

Instructions

  1. Preheat oven to 400°. Remove pie shell from freezer and allow to rest at room temperature for 10–15 minutes. Prick pie shell all over with a fork, then bake for 12 minutes. Remove shell from oven and allow to cool.

  2. Reduce oven temperature to 375°. Cook Pancetta over medium high heat until crisp. Add chard and sauté until the leaves have wilted and reduced substantially, about 7–9 minutes. Insert into pie crust.

  3. In a medium bowl beat eggs; add milk, cream, nutmeg, pepper and most of the Parmigiano-Reggiano cheese (reserve a small handful to sprinkle on top of the quiche), stirring well to combine. Pour into prepared pie shell over top of the chard and Pancetta. Sprinkle with reserved cheese.

  4. Bake at 375° for 25 minutes or until just set in the centre. Insert a toothpick to check whether it is cooked through. Serve warm from the oven—tastes great with a side salad of peppery greens like Arugula in a light vinaigrette dressing.

Filed Under: Breakfast, Recipe Tagged With: breakfast, brunch, eggs, pancetta, Parmigiano-Reggiano, quiche, swiss chard

German Pancake with Cinnamon Apples

June 29, 2017 By Caroline Leave a Comment

German Pancake with Cinnamon Apples

Slow down, relax and make this breakfast in your pyjamas while everyone else is still dozing this long weekend. The ingredients are simple, yet the result of a German pancake, glorious and puffy right out of the oven, is spectacular.

A twirl of apple peels in the foreground with slices in behind.

When I first started making this, every once in a while it would be disappointingly flat, and for the life of me I couldn’t figure out why. My husband was convinced it was the mixing, he thought for sure an electric mixer had to be used to add air to the batter. I tried that, but to no avail. Finally I figured it out. The key to puffy german pancake perfection is a really, really hot pan. So many recipes tell you to put the butter into your dish and heat it in the oven until the butter melts, but this is inadequate, your pan won’t be hot enough. And if you leave it in the oven too long with the butter, it will be scalded.

What I do is place an empty skillet into the oven right when I turn it on. That way I know the skillet will be at oven temperature (450°) when I’m ready to add the batter. Butter gets added while the skillet is searingly hot (the butter will sizzle and melt almost instantly when you add it to the pan—just like in the video below). Twirl the pan with the butter until it’s melted and add in the batter, and pop it into the oven. 15 minutes later, it will be three times the height, buttery, crisp and golden.

As for the pan, I use an old heavy skillet with the handle removed (as it wasn’t oven safe to 450° with the handle). An oven safe skillet (please ensure that it can withstand up to 450°), cast iron pan or glass pie baking dish will work just fine as well.

Apples frying on the stove with brown sugar and cinnamon scattered on top

While the batter is transforming in the oven, melt some more butter in a medium skillet, add the slices apples, brown sugar and cinnamon. Cook for 12–15 minutes until the apples are soft and the sugar has caramelized a little. And that’s it—serve with a dusting of icing sugar and maple syrup, drizzled with the apple juices from the pan. What better way to spend a lazy weekend morning?

Print

German Pancake with Cinnamon Apples

The ingredients are simple, yet the result of a German pancake, glorious and puffy right out of the oven, is spectacular. Cinnamon apples pan seared on the stove while the pancake bakes are the perfect accompaniment.

Course Breakfast
Cuisine American
Prep Time 10 minutes
Cook Time 15 minutes
Total Time 25 minutes
Servings 2

Ingredients

  • 4 tbsp butter (or margarine)
  • 3 eggs
  • 3/4 cup milk
  • 3/4 cup flour
  • 1/2 tsp salt
  • 2 apples peeled, cored and sliced into 12 slices each
  • 2–3 tbsp brown sugar
  • 1/2 tsp ground cinnamon

Instructions

  1. Place empty oven-proof skillet (safe up to 450°) into the oven with rack in middle position (batter will rise well above the pan so ensure there will be room). Preheat oven to 450°.

  2. Combine eggs, milk, flour and salt into a medium bowl. Stir with a fork until smooth and just a few small lumps remain. 

  3. When the oven has reached temperature, remove the skillet and add 2 tbsp butter. The butter will sizzle and melt; swirl the butter in the pan until melted, tilting to coat the sides with melted butter. Add the batter to the pan, and pop back into the oven. Bake 15 minutes, or until very puffy and golden. 

  4. While the pancake is in the oven, melt 2 tbsp butter in a medium skillet on the stove top, over medium high heat. Add apple slices and stir, turning to coat evenly with butter. Add brown sugar and cinnamon. Cook on high for 10–12 minutes, until the apples soften and the juices have combined with the brown sugar and cinnamon and cooked down into a syrupy sauce.

  5. Remove skillet from the oven, slice pancake and sprinkle with powdered sugar on top. Add sautéed apples to the plate, spooning the sugary juices on top of the pancake.

Filed Under: Breakfast, Recipe Tagged With: Apples, Cinnamon, German, German Pancake, Pancake, Puffy

Whole Wheat Cranberry Apple Scones

April 8, 2017 By Caroline Leave a Comment

Apples, cranberries and flour in a bowl

Ever purchase some specialty flour like cake or whole wheat, only to have it sit there for a year and never have any need for it again? Determined not to let that happen to my recently purchased whole wheat flour, I decided to try out this recipe for scones. While this scone is not the buttery, crisp on the outside, melt-in-your-mouth scone of my dreams, they were a great mid-day snack and would be a lovely addition to any brunch. Bonus: unlike their buttery brethren, these will actually leave you feeling good after you eat them.

scone broken apart showing juicy cranberries on a red rimmed china plate

Based somewhat on a recipe from Epicurious, I changed things up by using fresh apples and cranberries rather than dried. I also substituted fresh pressed apple cider for the frozen concentrate, and I didn’t have buttermilk so went with the traditional substitution of milk and vinegar (1/2 cup milk with 1/2 tbsp milk). I also didn’t want to add yet another type of flour to my pantry so used rolled oats instead of oat flour.

Upon following the recipe I found the dough was very sticky and the scones lost their shape in the oven. To minimize the loss of shape, I suggest chilling the shaped dough on the baking sheet in the fridge for 20 minutes before popping them into the oven.

If you don’t want to make 12 all at once, these also freeze quite well—place shaped scones onto a baking sheet and freeze in a single layer; remove from sheet and wrap in plastic or a ziplock freezer bag.

scone broken apart showing juicy cranberries on a red rimmed china plate
Print

Whole Wheat Cranberry Apple Scones

A healthy take on scones with whole grains and fresh fruit, a great snack or addition to brunch.

Course Breakfast
Cuisine American
Prep Time 20 minutes
Cook Time 20 minutes
Total Time 40 minutes
Servings 12 scones

Ingredients

  • 1 1/2 cups whole wheat flour
  • 1 cup rolled oats
  • 1/2 cup all purpose flour
  • 1/2 cup sugar
  • 2 tsp baking powder
  • 1 tsp ground cinnamon
  • 1/2 tsp baking soda
  • 1/2 tsp salt
  • 1/2 cup unsalted butter chilled, cut into cubes (1 stick of butter)
  • 1/2 cup fresh cranberries
  • 1/2 cup diced fresh apple
  • 1/2 cup buttermilk
  • 1/4 cup half and half cream for glaze
  • 1/4 cup fresh apple cider
  • 1 egg (large)
  • coarse sugar crystals

Instructions

  1. Preheat oven to 375°. Line a baking sheet with parchment paper. Prep work surface with plastic wrap to roll and shape dough onto.

  2. Combine first 8 ingredients in a large bowl, blend. Using a pastry cutter or 2 knives, cut in butter until mixture resembles coarse meal. Add cranberries and apples and toss together.

  3. Whisk 1/2 cup buttermilk, cider and egg in a small bowl to combine. Add buttermilk, tossing until evenly moistened. Knead 2–3 turns in the bowl, then turn out onto the prepared plastic wrap, shaping into two 6" disks. Cut each disc into 6 wedges. Arrange scones onto baking sheet, spacing 1" apart. Place baking sheet in fridge for 20 minutes.

  4. Remove baking sheet from fridge, brush with half and half, and sprinkle with coarse sugar. Bake until puffed and golden, and a tester inserted into the centre comes out clean, about 20 minutes. Serve warm. 

Filed Under: Breakfast Tagged With: apple, breakfast, brunch, cranberry, Healthy, oatmeal, scone, Whole wheat

Primary Sidebar

Welcome to my kitchen journal, a place where I will share my favourite heritage recipes honed over the years, as well as document new evolutions and experiments along the way. Great feasts become vehicles for fond memories—the best meals are the ones someone made with love, for you. Follow me to explore traditions, document stories and experience the joy of the feast. Read More…

  • Facebook
  • Instagram
  • Pinterest
  • Twitter
  • YouTube

Don’t miss a story!

Get email updates

Copyright © 2023