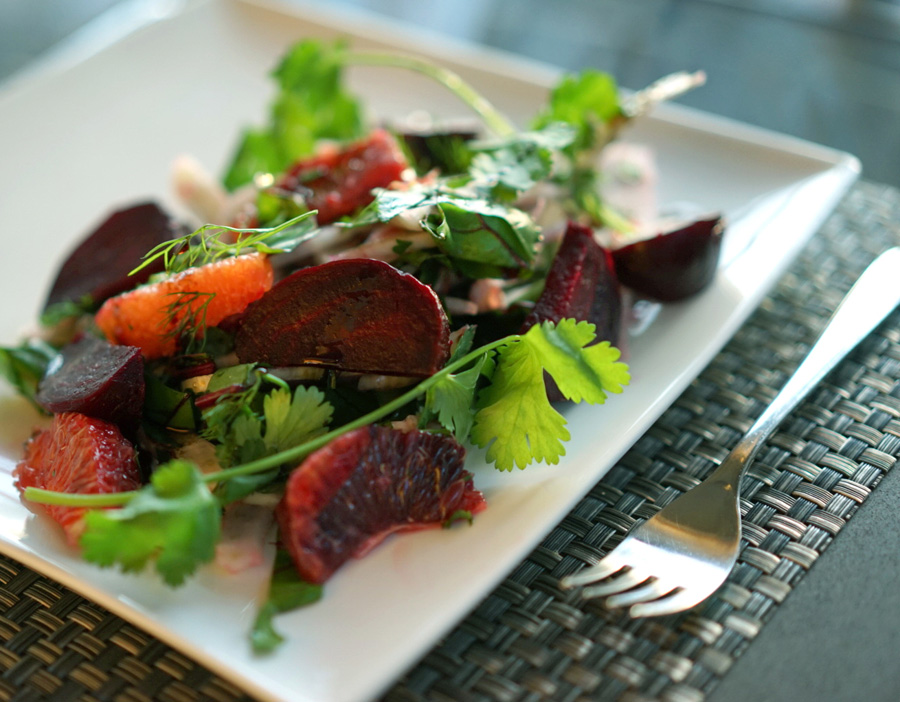
Gorgeous jewel-tones, earthy beets, licorice-scented fennel and citrus bursting with flavour—this salad brings it all together. But what really makes this special and takes it over the edge is the Styrian Pumpkin Seed Oil. Made in the Austria in the region of Styria, the oil has a distinctive nutty, rich taste with a deep green hue. Styrian Pumpkin Seed Oil is made from a unique pumpkin variety that produces seeds without shells. These seeds produce rich oil with a darker green colour when compared with regular pumpkin seed oil. It tastes amazing drizzled over salads and should not be used for cooking or heating—it is meant to be enjoyed straight up.
I was introduced to the idea of the venerated Pumpkin Seed Oil by long-time family friends, Frank and Etta. With a twinkle in his eye, Frank leaned over during dinner and asked me, “Have you ever tried Austrian Pumpkin Seed Oil?” I had to admit I had not only never tried it, I’d never even heard of it. He explained it is very rare and hard to find in Canada, but in Austria where he was from, it was a celebrated condiment to be used on everything from ice-cream to salads to cheese. He spoke of it with such nostalgia and affection, it left an impression on me.
Imagine my delight when I found a tin of the precious oil at my regular grocery store! It is touch and go and not always available there, but I’ve also seen it at a few gourmet food shops in Toronto and noticed you can order it online via Amazon as well. It is very expensive, but truly unlike any other oil I have ever tasted. It carries a nutty taste with more richness and greater intensity than that of Walnut oil. It complements the earthy roasted beets and serves as a lively rich counterpoint to the citrus in this salad.
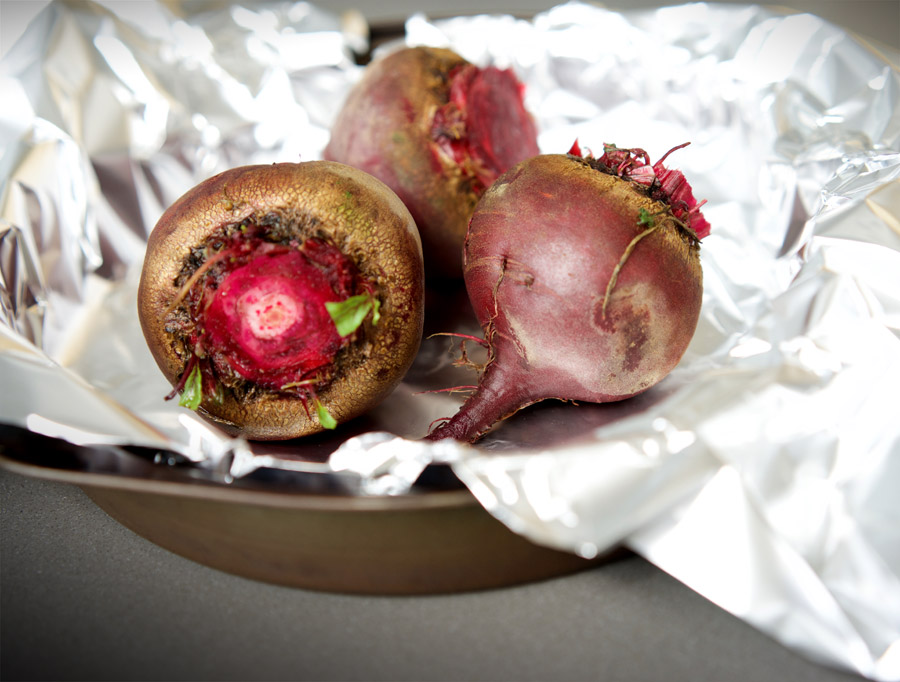
To begin, trim, rinse and chop the beet greens into ribbons, and set aside. Wrap the beet roots in foil and roast in a preheated 400° oven for about an hour until tender. Allow to cool, then peel the beets and slice each one into 8 wedges.
Trim and slice about half of a large fennel bulb into strips, and place in a large bowl. Add the reserved beet greens and chopped cilantro. Drizzle freshly squeezed orange or lemon juice over the salad with a pinch of sea salt and freshly ground pepper. Toss to combine.
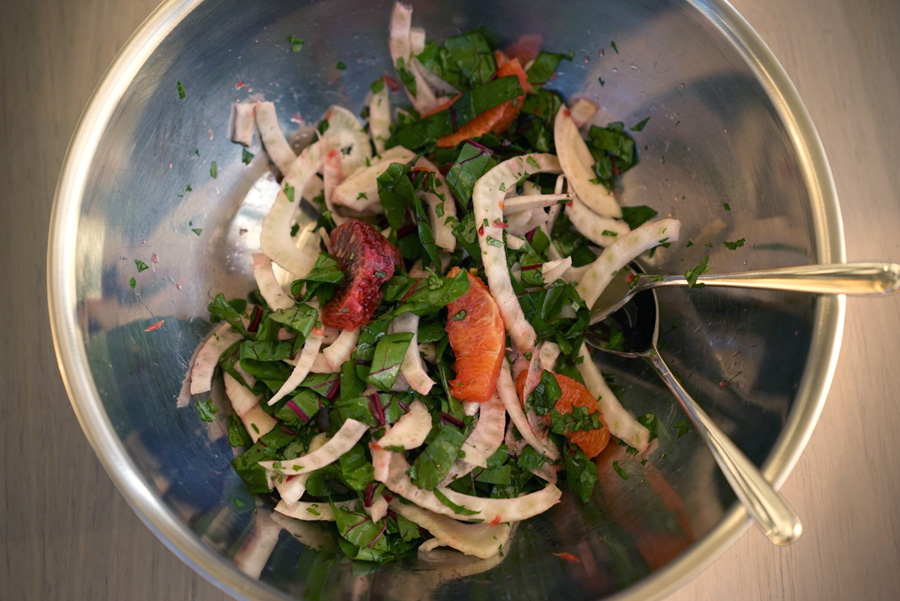
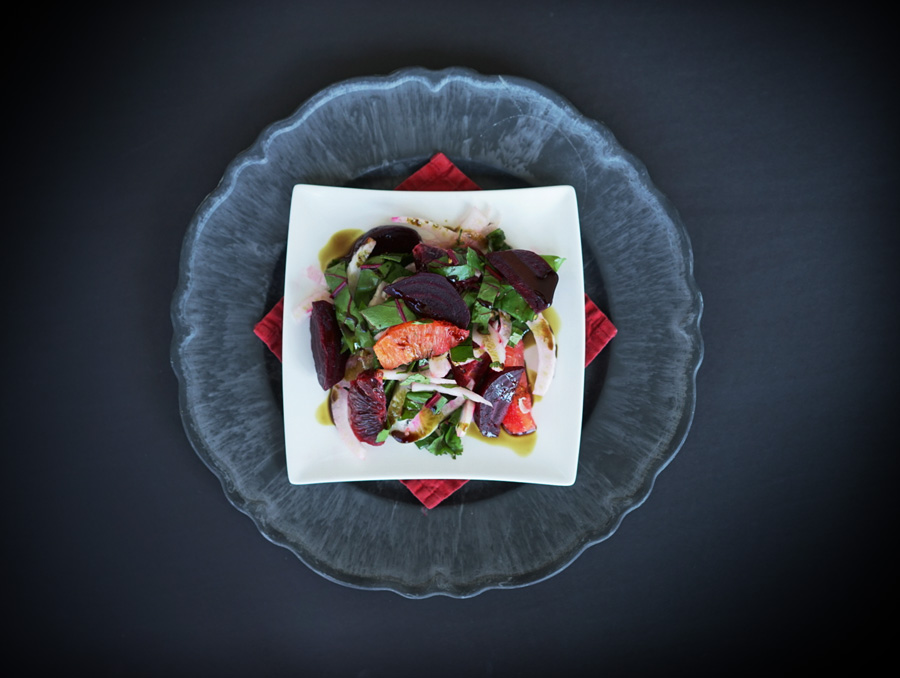
Cut peel and pith from the oranges and slice into segments, adding them to the bowl. Stir gently to avoid breaking the fruit. Plate the salad, and drizzle a generous amount of Styrian Pumpkin Seed Oil over the plates just before serving.
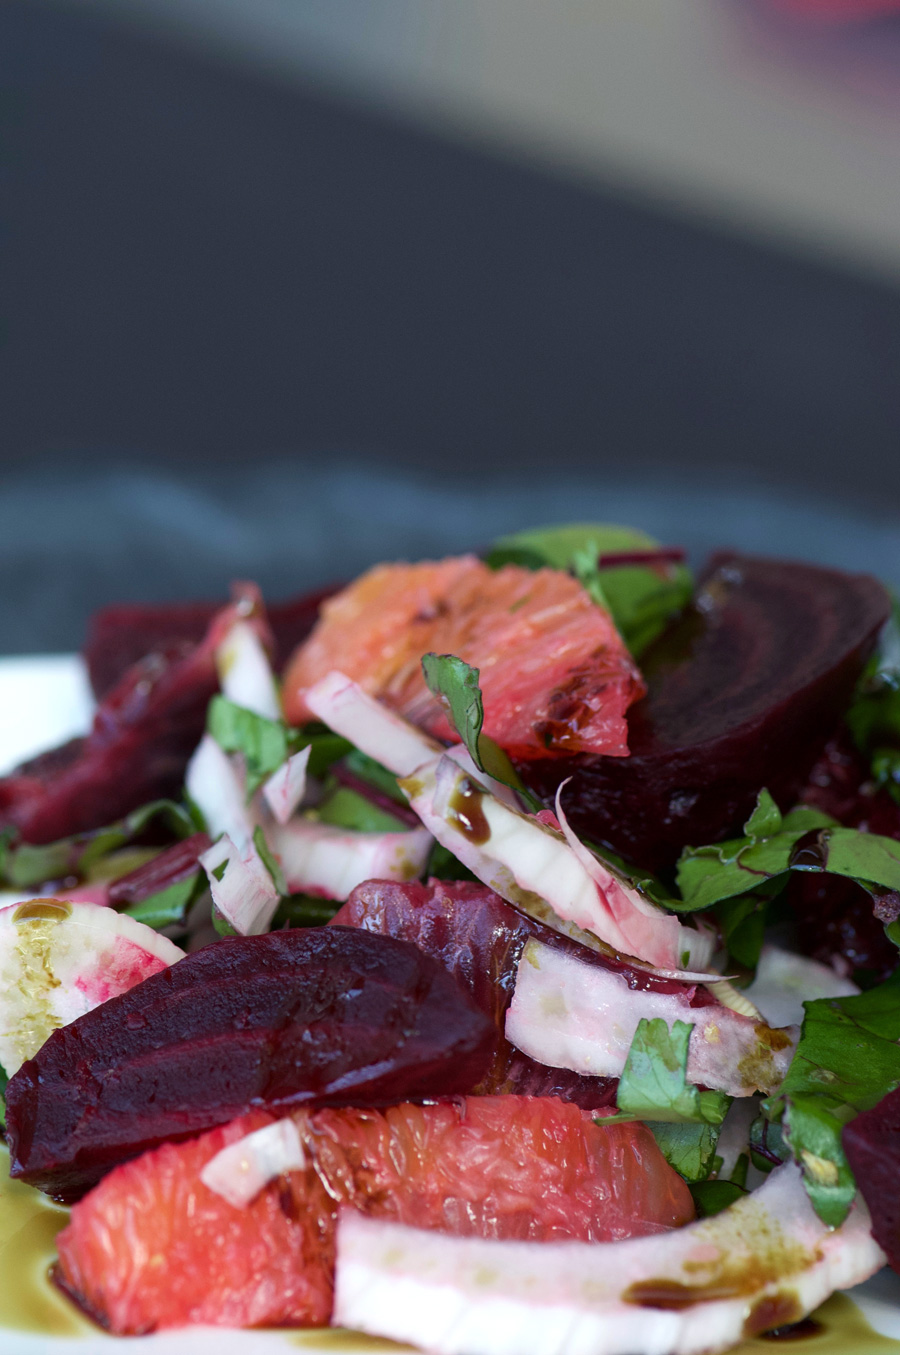
Earthy, roasted, sweet, sour and nutty—this delicious salad is a feast for the eyes. A beautiful dish that’s great to share with guests, yet easy enough to make for a weeknight side salad.
From time to time I find myself leaning over, speaking in a hushed voice to a foodie friend, “but have you tried real handcrafted Styrian Pumpkin Seed Oil?” I’m a Pumpkin Seed Oil convert now, seeking to impart the sense of reverence and love for this special liquid of greenish golden hues as Frank did for me.

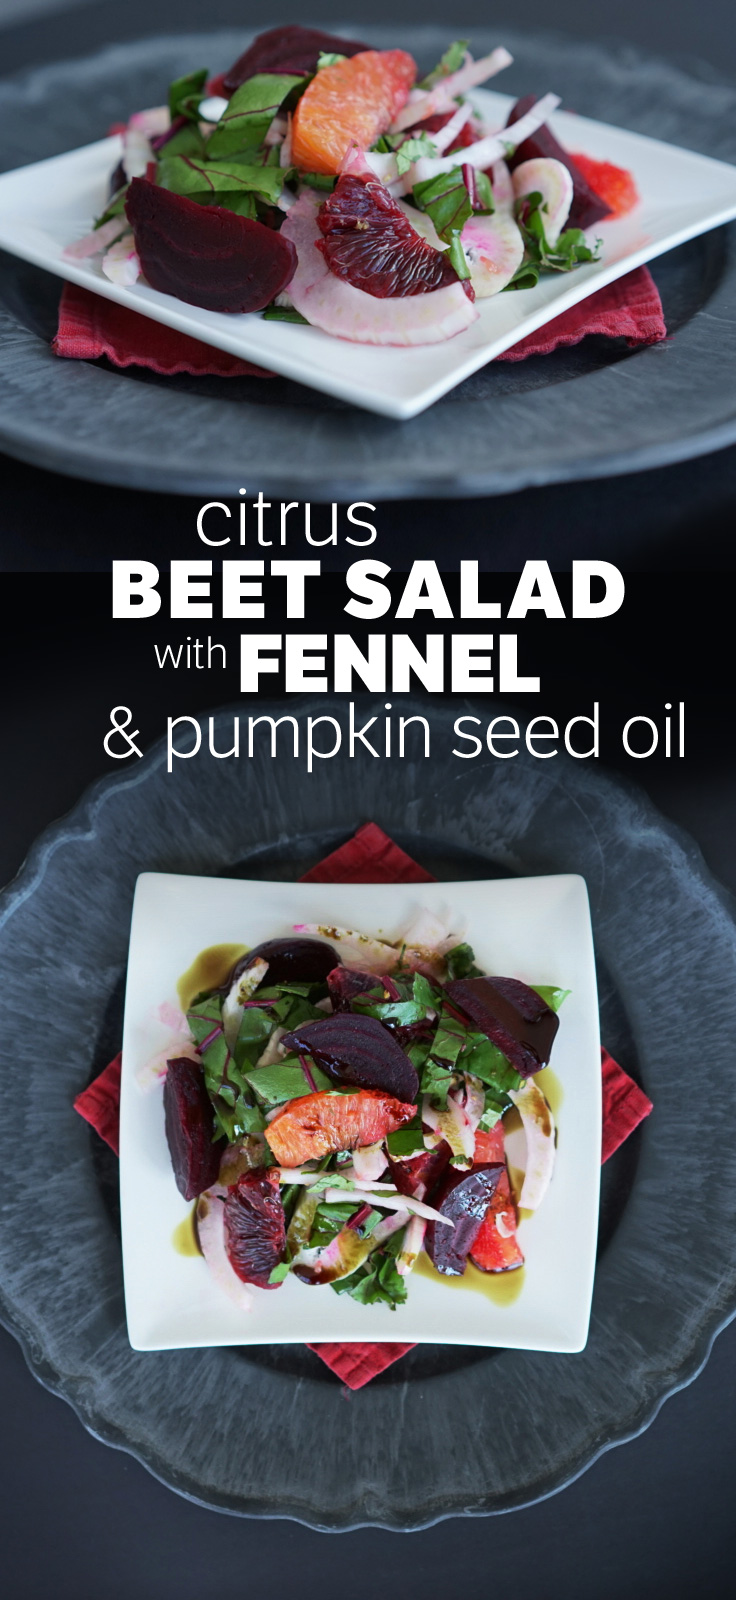
Citrus Beet Fennel Salad with Styrian Pumpkin Seed Oil
Bursting with flavour and gorgeous jewel tones, this salad drizzled with nutty Pumpkin Seed Oil is a feast for the eyes and palate.
Ingredients
- 3 beets with greens
- 1 naval orange
- 1 blood orange
- 1 tbsp fresh orange or lemon juice
- 1/2 large fennel bulb, sliced
- chopped cilantro to taste
- sea salt
- fresh ground pepper
- Styrian Pumpkin Seed Oil
Instructions
-
Prepare beets: remove greens, rinse, dry and chop into ribbons. Set aside. Clean beet roots, and wrap in foil. Add to a preheated 400° oven and roast for 1 hour, until tender. Allow beets to cool, then peel and slice each beet into 8 wedges. Set aside.
-
In a large bowl, combine sliced fennel, beet greens, cilantro, salt, pepper and juice. Remove peel and pith from the oranges and slice into segments. Add to the salad bowl and toss gently.
-
Plate the salads, and drizzle the Styrian Pumpkin Seed Oil over top just before serving.