• Skip to content
  • Skip to primary sidebar

Feast & Lore

Food stories featuring heritage recipes and new experiments.

  • Home
  • Recipes
  • About

Caroline

Simple Summer Sides: Grilled Baby Potatoes

July 12, 2017 By Caroline Leave a Comment

Summer is all about taking it easy, recharging outside and soaking up the long days of sunshine. The last thing you want to do is spend all day in the kitchen. What you want are simple, delicious meals that are perfect enjoyed on a patio with a glass of wine. These potatoes deliver. Crisp, flavourful young potato skins pop with hits of coarse kosher salt that brings out the natural sweetness of the creamy potatoes. Rosemary adds just a hint of colour and delicate flavour.

Sprigs of Rosemary, freshly cut resting on a wood table

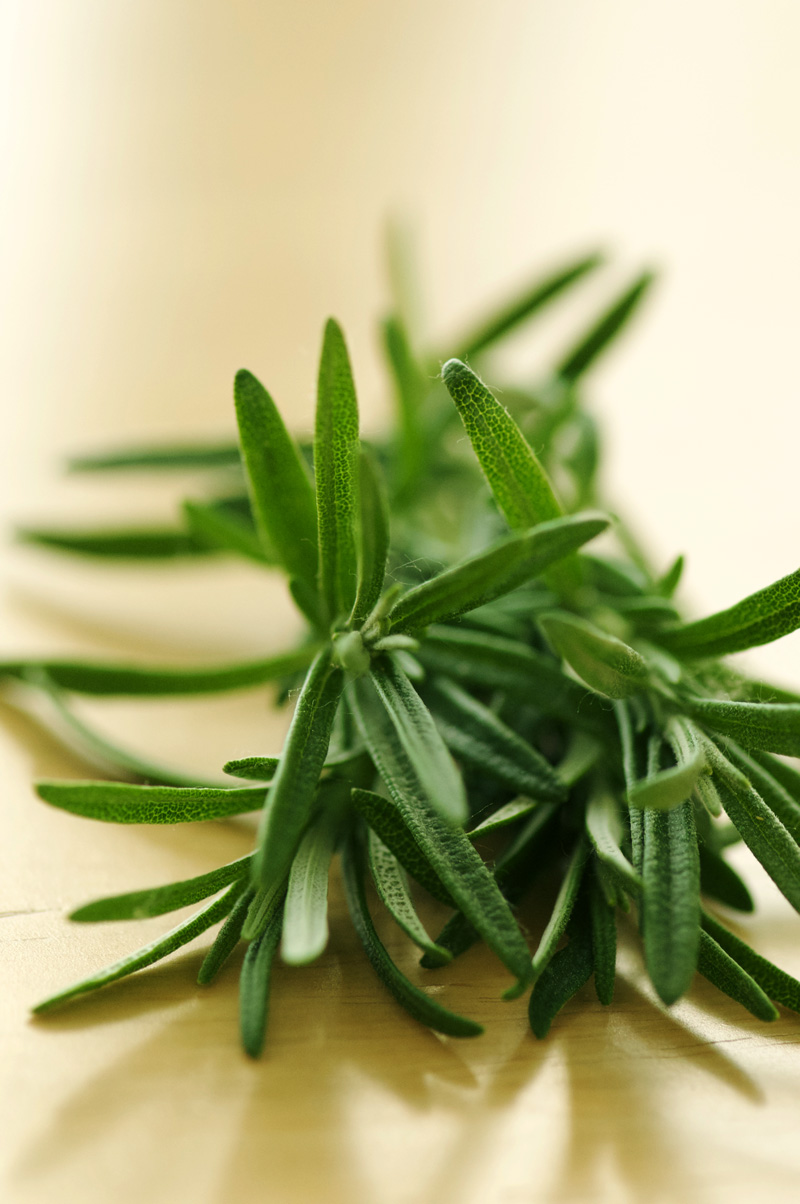
I grow the Rosemary right on my patio. I love rubbing a leaf between my fingers and taking in the scent. You just need a few sprigs, finely chopped, as your seasoning along with the kosher salt. I really prefer the coarse texture of kosher salt for these potatoes, to deliver a hit of flavour on the skins.

Potatoes in the pot

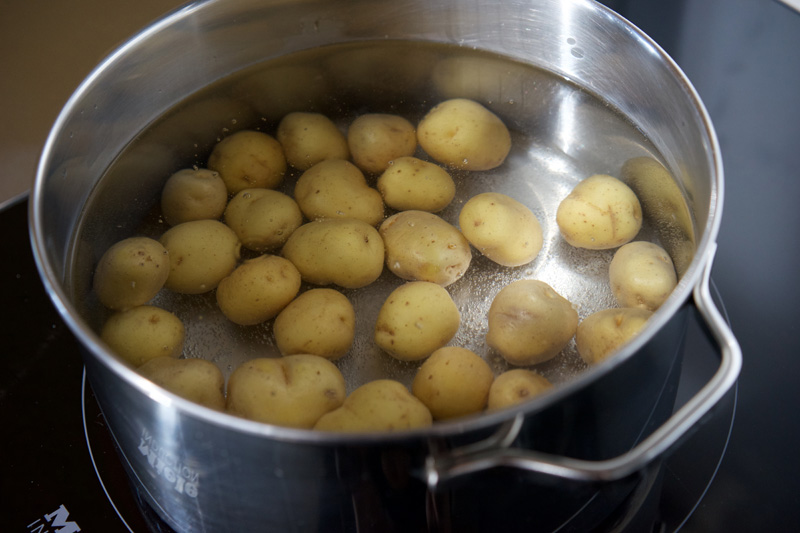
To start with, par-boil the potatoes for 8–10 minutes until they are starting to soften, but not fully cooked through. Don’t overcook them or your final product off the grill will be mushy.

Seasoned potatoes in a green bowl

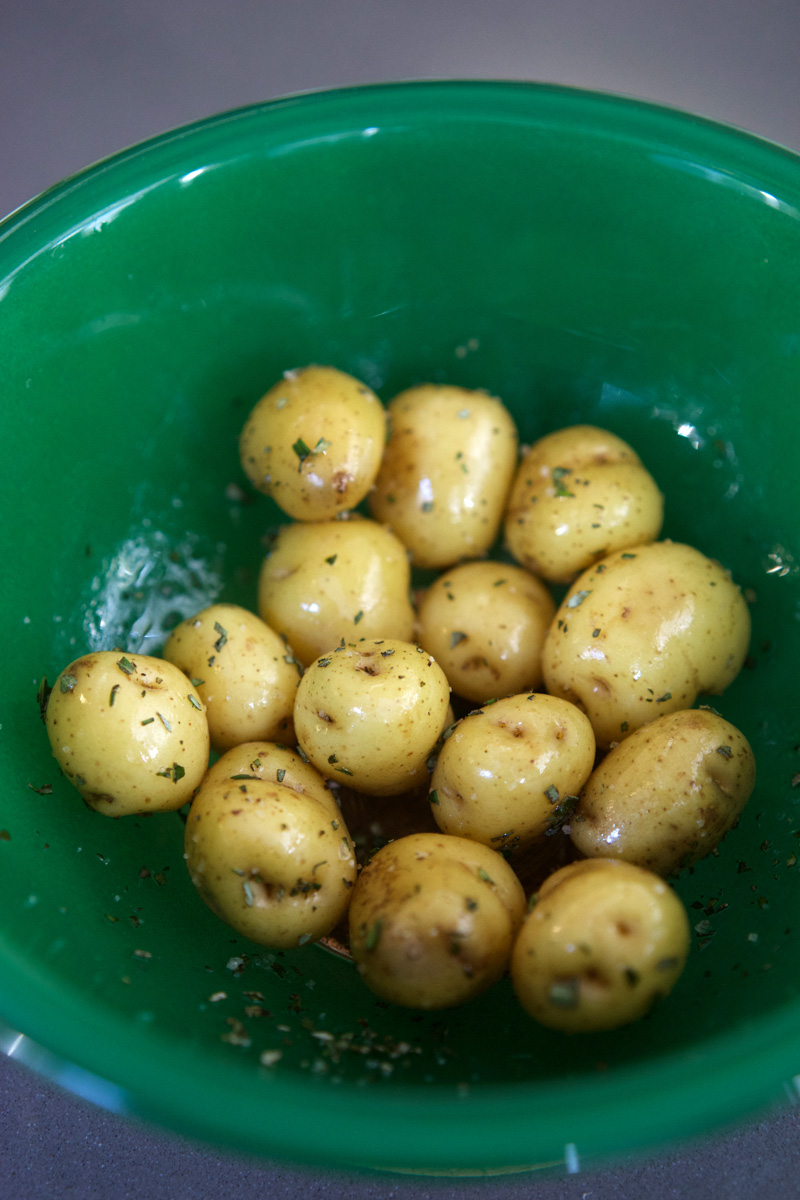
Drain the potatoes and transfer to a bowl. Add the olive oil, salt and rosemary. Stir to combine.

Seasoned baby potatoes roast on the upper rack of the BBQ grill.

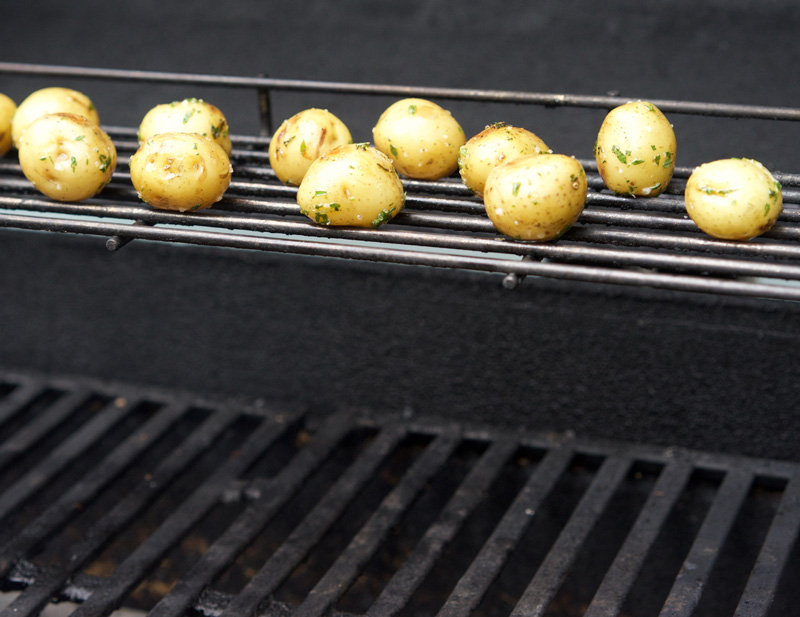
Next, toss the potatoes on the grill. I find the top rack works well to get a nice golden skin and soft, perfectly cooked insides. Once ready, transfer from the grill into the same bowl you seasoned them in, and toss them around in the olive oil and seasoning that’s left to give them a nice finish. Enjoy (careful, they get pretty hot right off the grill—cut one open to test before popping a whole one into your mouth) you’ve been warned!

The finished potatoes, grilled to perfection


The finished potatoes, grilled to perfection
Print

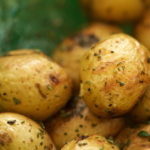
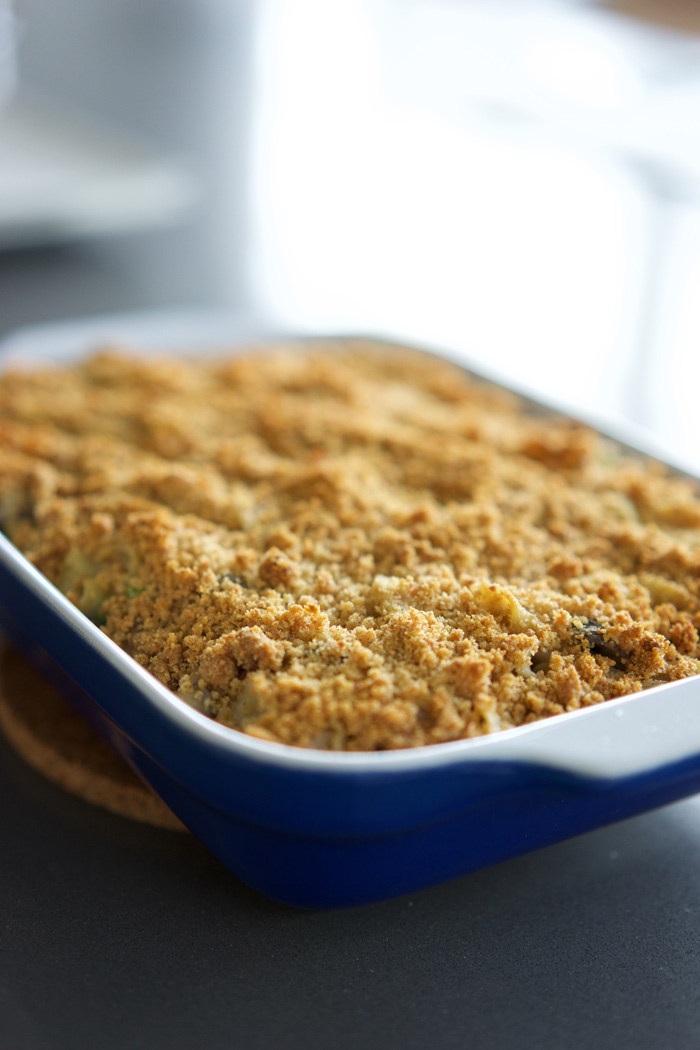
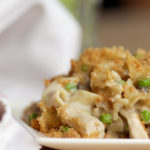
Grilled baby potatoes

Simple perfection, just four ingredients to bring out the natural sweetness and beautiful texture of new baby potatoes.

Course Side Dish
Cuisine American
Prep Time 3 minutes
Cook Time 20 minutes
Total Time 23 minutes
Servings 4

Ingredients

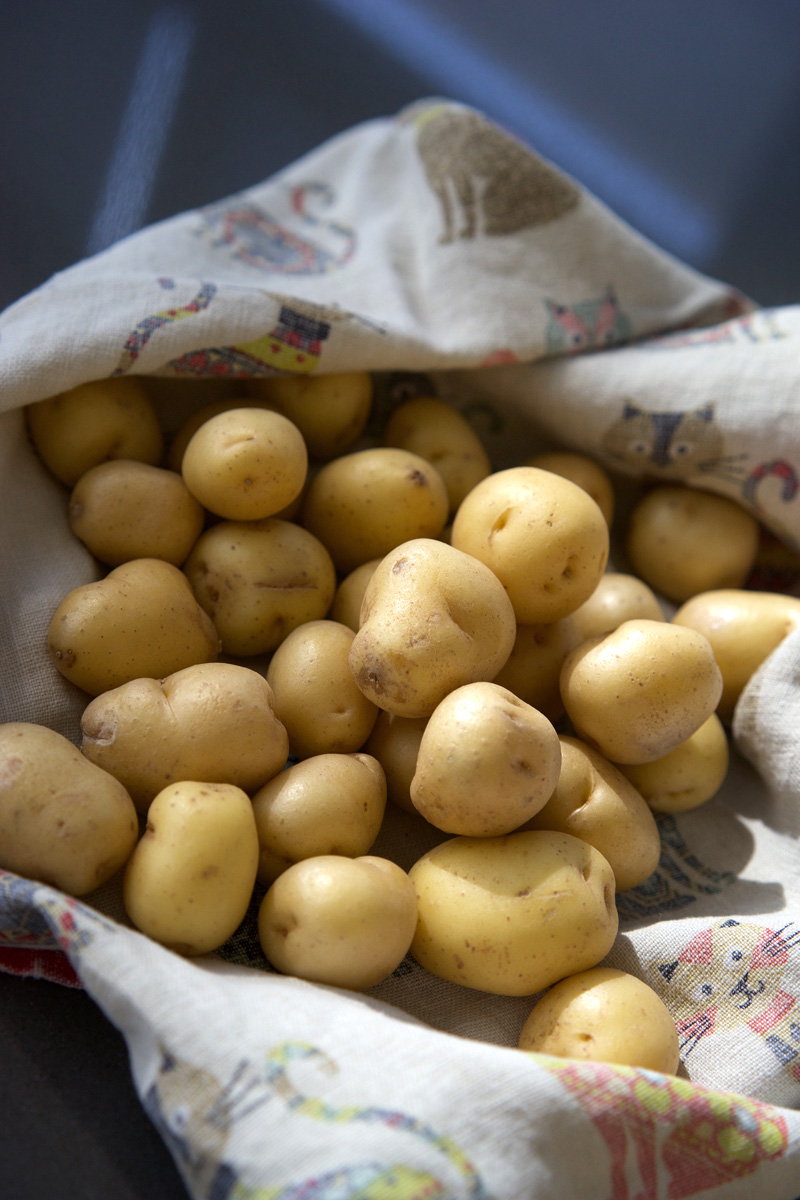
  • 1.5 lb Baby Potatoes (680 g)
  • 2 tbsp olive oil
  • 3 sprigs Fresh rosemary finely chopped
  • Kosher Salt

Instructions

  1. Scrub potatoes and set into a large pot filled with cold water. Bring to boil over high heat and cook for 8–10 minutes until they are partially cooked. (Overcooking here leads to a "mushy" texture after they are grilled. You are looking for a softened, but still firm, cook on the potatoes)

  2. Drain potatoes and transfer to a bowl. Drizzle with olive oil. Add rosemary, and sprinkle with kosher salt to taste. Stir.

  3. Add potatoes to hot grill (400°). Grill until golden and skins are crisp, approximately 10 minutes. Test to ensure the potatoes are soft and fully cooked through—insert a sharp knife to the centre to ensure they are soft.

  4. Remove from grill back into the bowl, and stir to coat with a touch of olive oil and rosemary remaining in the bowl. Serve.

Filed Under: Recipe, Side Tagged With: baby potatoes, Easy, Grill, kosher salt, potato, rosemary, summer, summer side

350-350-350 Lemon Cake Squares

July 4, 2017 By Caroline 1 Comment

Ingredients set out for lemon squares: butter, sugar, flour, eggs, lemons, berries

This post marks a big first—the cake recipe was passed on to me by my very special Grandmother-in-law, who was nick-named “Grandma Shots” by my husband. (We’ll leave the story of how that name came to be for another time 😉 ) Grandma loved this cake and told me I should learn to make it because it’s simple, quick and turns out great every time. She was so right. This is the first of her recipes I will share.

Butter on scale

Her recipe was in metric, and she told me that it was commonly known back home as the “350 cake” because the main ingredients (butter, flour, sugar) were all at equal amounts of 350 g. The cake is baked on a sheet pan, it is iced with simple lemon icing, and you cut it into squares. Whether you want a snack to take to work, something kids would enjoy or a sophisticated dessert to serve company, this cake does the trick nicely.

Baking sheet buttered and dusted with flour

The batter looks slightly curdle-y once all the eggs and sugar have blended in, but it smoothes out once you add the flour, for a very light batter.

Liquid and dry ingredients in bowls, ready to be combined

Combining liquid and dry ingredients

Spread the batter evenly over the baking sheet. It doesn’t come up very high in the pan, but it rises up quite a bit while in the oven.

batter spread evenly onto baking sheet

While that’s baking, you can whip up the icing, it couldn’t be more simple: lemon juice and icing sugar. It makes for a very thin, tangy glaze that adds a tart layer of sweetness to the top of the cake squares.

Icing sugar and lemon juice mixing in bowl

The finished squares are great cut right out of the pan. But if you wanted to turn this into an elevated dessert, read on.

A basil strawberry compote adds flavour dimension and plays well off of the lemon in the cake. It’s really easy to make—just combine a simple basil syrup with freshly cut strawberries, and roast in the oven to bring out extra depth from the strawberries.

Basil infuses flavour into sugar syrup

Beautiful Ontario strawberries with basil syrup, ready for the oven

To serve, stack the squares and top with the strawberry basil compote, letting the juices run over the sides of the cake, soaking into the bottom layer. So good, you’ll want to lick the plate after!

2 cake squares topped with strawberry basil compote, with juices soaking into the cake


2 cake squares topped with strawberry basil compote, with juices soaking into the cake
5 from 1 vote
Print

350-350-350 Lemon Cake Squares

A great basic cake, easily remembered by those using metric for baking based on the key ingredients: 350 g sugar, 350 g butter, 350 g flour.

Course Dessert
Servings 10

Ingredients

350-350-350 Lemon Cake Squares

  • 1 2/3 cup white sugar (350 g)
  • 1 1/2 cups unsalted butter (350 g)
  • 2 1/4 cups flour (350 g)
  • 6 eggs
  • 2 zest of 2 lemons
  • 3 tsp baking powder (14 g)

Lemon Icing

  • 1 1/2 cups Icing sugar
  • 1 Juice of one lemon

Roasted Strawberry Basil Compote

  • 1 quart Fresh strawberries
  • 1/2 cup Fresh Basil leaves, packed
  • 6–8 Fresh Basil stems
  • 1/3 cup white sugar
  • 1/3 cup water

Instructions

350-350-350 Lemon Cake Squares

  1. Lightly butter and flour an 11 x 17" baking sheet. Preheat oven to 350°.

  2. Using a hand mixer, beat butter until lightened in colour. Add eggs one at a time, alternating with sugar. Combine flour and baking powder, gently mixing in by hand. Add lemon zest.

  3. Spread onto prepared baking sheet. Bake at 350° for 25 minutes, until top is golden and a toothpick inserted in the centre comes out clean. Allow to cool.

Lemon Icing

  1. Make lemon icing: combine icing sugar with lemon juice, stir to combine well pressing out any lumps. Spread evenly over the lemon cake.

Roasted Strawberry Basil Compote

  1. For a special presentation, stack lemon squares and top with Roasted Strawberry Basil Compote. To make compote, combine sugar, water and basil stems into a small pan. Heat on high and bring to boil. Stir for one minute until sugar has dissolved, and remove from heat. Add basil leaves, stir to cover with the sugar syrup, cover and set aside to cool.   

  2. Hull and slice strawberries into an 8x8 glass baking dish. Once basil syrup has cooled, discard basil leaves and stems, and pour syrup over the strawberries. Place into a preheated 350° oven for 50 minutes, shaking the pan once or twice to prevent strawberries from drying out.

  3. Remove compote from oven and allow to cool completely. Top Lemon Squares with compote immediately before serving.

Recipe Notes

Cake freezes well for snacking on later.

Filed Under: Dessert, Recipe Tagged With: 350, basil, cake, Grandma Shots, lemon, metric, squares, strawberry

German Pancake with Cinnamon Apples

June 29, 2017 By Caroline Leave a Comment

German Pancake with Cinnamon Apples

Slow down, relax and make this breakfast in your pyjamas while everyone else is still dozing this long weekend. The ingredients are simple, yet the result of a German pancake, glorious and puffy right out of the oven, is spectacular.

A twirl of apple peels in the foreground with slices in behind.

When I first started making this, every once in a while it would be disappointingly flat, and for the life of me I couldn’t figure out why. My husband was convinced it was the mixing, he thought for sure an electric mixer had to be used to add air to the batter. I tried that, but to no avail. Finally I figured it out. The key to puffy german pancake perfection is a really, really hot pan. So many recipes tell you to put the butter into your dish and heat it in the oven until the butter melts, but this is inadequate, your pan won’t be hot enough. And if you leave it in the oven too long with the butter, it will be scalded.

What I do is place an empty skillet into the oven right when I turn it on. That way I know the skillet will be at oven temperature (450°) when I’m ready to add the batter. Butter gets added while the skillet is searingly hot (the butter will sizzle and melt almost instantly when you add it to the pan—just like in the video below). Twirl the pan with the butter until it’s melted and add in the batter, and pop it into the oven. 15 minutes later, it will be three times the height, buttery, crisp and golden.

As for the pan, I use an old heavy skillet with the handle removed (as it wasn’t oven safe to 450° with the handle). An oven safe skillet (please ensure that it can withstand up to 450°), cast iron pan or glass pie baking dish will work just fine as well.

Apples frying on the stove with brown sugar and cinnamon scattered on top

While the batter is transforming in the oven, melt some more butter in a medium skillet, add the slices apples, brown sugar and cinnamon. Cook for 12–15 minutes until the apples are soft and the sugar has caramelized a little. And that’s it—serve with a dusting of icing sugar and maple syrup, drizzled with the apple juices from the pan. What better way to spend a lazy weekend morning?

Print

German Pancake with Cinnamon Apples

The ingredients are simple, yet the result of a German pancake, glorious and puffy right out of the oven, is spectacular. Cinnamon apples pan seared on the stove while the pancake bakes are the perfect accompaniment.

Course Breakfast
Cuisine American
Prep Time 10 minutes
Cook Time 15 minutes
Total Time 25 minutes
Servings 2

Ingredients

  • 4 tbsp butter (or margarine)
  • 3 eggs
  • 3/4 cup milk
  • 3/4 cup flour
  • 1/2 tsp salt
  • 2 apples peeled, cored and sliced into 12 slices each
  • 2–3 tbsp brown sugar
  • 1/2 tsp ground cinnamon

Instructions

  1. Place empty oven-proof skillet (safe up to 450°) into the oven with rack in middle position (batter will rise well above the pan so ensure there will be room). Preheat oven to 450°.

  2. Combine eggs, milk, flour and salt into a medium bowl. Stir with a fork until smooth and just a few small lumps remain. 

  3. When the oven has reached temperature, remove the skillet and add 2 tbsp butter. The butter will sizzle and melt; swirl the butter in the pan until melted, tilting to coat the sides with melted butter. Add the batter to the pan, and pop back into the oven. Bake 15 minutes, or until very puffy and golden. 

  4. While the pancake is in the oven, melt 2 tbsp butter in a medium skillet on the stove top, over medium high heat. Add apple slices and stir, turning to coat evenly with butter. Add brown sugar and cinnamon. Cook on high for 10–12 minutes, until the apples soften and the juices have combined with the brown sugar and cinnamon and cooked down into a syrupy sauce.

  5. Remove skillet from the oven, slice pancake and sprinkle with powdered sugar on top. Add sautéed apples to the plate, spooning the sugary juices on top of the pancake.

Filed Under: Breakfast, Recipe Tagged With: Apples, Cinnamon, German, German Pancake, Pancake, Puffy

Garlic Lime Chicken with Mango Salsa and White Bean Quesadillas

June 18, 2017 By Caroline Leave a Comment

Mango Salsa with Garlic Lime Chicken with Quesadillas


This summer inspired feast is the perfect thing to tuck into on a patio with an ice cold beer (or a white wine sangria). Juicy mango forms the base of a salsa that is the perfect accompaniment to seared chicken. Even on its own, the chicken is lively with fresh garlic, lime juice and cumin. Quesadillas grilled with cheese, spinach and a white bean puree round out the plate. It also makes for great leftovers, holding up well for a day or two after it’s made.

There are multiple recipes outlined to bring together for the final ensemble, but everything is quite easy and the whole thing can pulled together in about 60 minutes. Not to mention any of the three recipes are great on their own or paired with other dishes—for example the mango salsa would also make for a mean topping on fish tacos. But back to this recipe grouping—our plan of attack: start by cutting and prepping all of the ingredients, sauté and blitz the beans into a puree, and then while the chicken is cooking, stir together the mango salsa and assemble and sear the quesadillas. Let’s get started.

Once you’ve cut and prepped everything, create the quesadilla bean puree filling. Cook the beans with olive oil, spices and shallots until the beans soften and the shallots are slightly golden.

White kidney (Canellini) beans are cooked in a skillet with olive oil and shallots.

Remove from heat, and add to a mini-blender with lime juice. Puree until smooth.

Prep the quesadillas: start with one whole wheat wrap, spread it with the bean puree, add baby spinach and top with cheese.

Quesadilla is assembled starting with a base of flatbread with puree, spinach, then cheese and topped off with another flatbread.

Next, prep the chicken. You’ll want to remove the tenders, and then slice each breast open like a book to stuff with limes, fresh garlic, salt and pepper. Then close them back up to seal the limes and garlic inside.

Add chicken to a large saute pan with olive oil. Add additional garlic to the pan, pouring half of the lime juice on top, and sprinkle with cumin. Flip the chicken half-way through, pour the remaining lime juice over, and sear well.

To finish cooking, I like to turn the heat down to a low setting (2–3 on my induction cooktop) and cover the pan with foil (or a lid if you have one). I find this slow finish makes for a juicy and tender final product.

Finally, mix the ingredients for the mango salsa and cook the quesadillas.

Ingredients for mango salsa in a green bowl

Bring it all together and dinner is served!

shot from above, chicken with mango salsa, with quesadillas on the side


Don’t forget to save some for lunch tomorrow…

Print

Garlic Lime Chicken

Course Main Course
Cuisine American
Prep Time 15 minutes
Cook Time 20 minutes
Total Time 35 minutes
Servings 4

Ingredients

  • 4 boneless skinless chicken breasts tenders removed
  • 2 tbsp garlic finely chopped
  • 1 lime cut into 8 slices
  • 1 lime juiced
  • 2 tsp olive oil
  • 1/4 tsp cumin

Instructions

  1. Remove tenders from chicken breasts, and slice each breast starting from the thickest point, cutting partway through until you are able to open the breast like a book. Season with salt and pepper to taste

  2. Sprinkle half of the garlic over the opened chicken breasts. Place 2 lime wedges at the centre, and fold back the chicken to close the "book". 

  3. In a large skillet over medium-high heat, melt the olive oil. Place the chicken into the pan, add remaining garlic, pour half of the lime juice over top, and sprinkle with cumin. 

  4. Cook for 6–8 minutes, then flip chicken over. Pour the remaining lime juice over top. Cook until a nice golden sear develops on the second side, about 2–3 minutes. Then turn the heat to medium-low, and top with a lid (or use foil if you don't have a lid for your skillet) until chicken is cooked through, about 4–6 additional minutes.

  5. Serve with mango salsa spooned over top.


Colourful mango salsa tops seared chicken with tangy lime and savoury garlic
Print

Mango Salsa


Course Side Dish
Cuisine American
Prep Time 15 minutes
Total Time 15 minutes
Servings 4

Ingredients

  • 2 ripe mangos peeled and chopped into 1/4" dice
  • 1/2 fresh pinapple peeled and chopped into 1/4" dice
  • 1/4 cup chopped jalapeno peppers more if you like it spicy, seeded for less spicy
  • 2 shallots sliced
  • 1/4 cup fresh cilantro roughly chopped
  • 2 garlic cloves crushed
  • 1/4 cup lime juice freshly squeezed
  • 1/4 cup fresh orange or pinapple juice

Instructions

  1. In a small bowl, combine lime and orange juice, crushed garlic, salt and pepper to taste. Allow to rest while you prep and combine the remaining 5 ingredients into a large bowl.

  2. Remove garlic from juices and discard. Pour juices over the salsa mixture and serve.


Print

White Bean Spinach Quesadillas


Course Side Dish
Cuisine American
Prep Time 15 minutes
Cook Time 10 minutes
Total Time 25 minutes
Servings 4

Ingredients

  • 2 tbsp olive oil
  • 2 shallots chopped
  • 19 oz white kidney beans ((Cannellini beans) drained and rinsed
  • pinch nutmeg
  • salt
  • pepper
  • 1 lime juiced
  • 8 whole wheat tortillas, 7"
  • 8 oz baby spinach
  • 1 cup grated cheese Cheddar-Mozzarella mix works well

Instructions

  1. Heat 1 1/2 tbsp olive oil in a medium skillet on medium-high heat. Add shallots and cook until softened, about 2–3 minutes. Add white beans, nutmeg and salt & pepper to taste, and continue to cook for 5–8 minutes until beans soften.

  2. Transfer bean mixture to a mini-food processor, add juice of 1 lime, and pulse until it forms a puree.

  3. Build the quesadillas: starting with one tortilla, spread 1/4 of the bean mixture on top. Add a handful of baby spinach, and top with cheese. Top with another tortilla. Repeat to build four.

  4. Heat a medium skillet over medium-high heat. Add a teaspoon of olive oil—when heated and shimmering, add one quesadilla. Cook until the tortilla crisps up and the filling starts to melt, then flip. Cook until the bottom is golden and the filling is nice and melty.

  5. Slice and serve!

Filed Under: Main, Recipe, Side Tagged With: Cannellini, Cheese, chicken, Cilantro, Garlic, Lime, Mango, Quesadilla, Salsa, White bean

Creamy Chicken Mushroom Tetrazzini

May 20, 2017 By Caroline Leave a Comment

Chicken Tetrazzini piled on a plate ready to be served.

Chicken Tetrazzini

This is one of those dishes that you really can’t go wrong with. I’ve been making variations of this since I first found the Bake Turkey Tetrazzini recipe in the Milk Calendar in 1994…yes, it’s been a regular in my rotation for over 20 years! I’ve made lots of tweaks over the years. I prefer chicken poached with celery, onion and a few spices. I keep the poaching water and use it for the pasta, too, to impart a bit more flavour.


chopped mushrooms closeup

Chicken being poached in water with celery, clove, onion and bay leaf

Chicken is gently poached with a few flavour enhancers

Drying out the meat is easily done with boneless, skinless chicken breasts. I’ve tried several methods, and I like poaching the chicken best, as it cooks gently and the end product is perfectly cooked chicken, juicy with subtle celery flavour.

Mushrooms, celery, garlic and onion sizzle in the pan

Cream sauce engulfs celery and mushrooms

The cream sauce will thicken as it works its way up to a simmer.

The texture is firmer once pasta and chicken is added to the sauce.

The combined filling comes together and the pasta soaks up the creamy sauce.

Filling lines the casserole dish

Breadcrumbs, Parmesan and butter form a coarse meal texture when combined.

Combine breadcrumb mixture in a small bowl

Deep golden breadcrumbs top the casserole as it emerges from the oven

The casserole with golden topping, fresh from the oven, smells amazing!

A crowd pleaser for adults and kids alike, this is a timeless classic to be savoured again and again.

Chicken Tetrazzini piled on a plate ready to be served.
Print

Creamy Chicken Mushroom Tetrazzini

Crisp topping, creamy sauce, savoury mushrooms, chicken, peas and pasta that will satisfy your cravings for a warm and homey dinner. 

Course Main Course
Cuisine American
Prep Time 45 minutes
Cook Time 30 minutes
Total Time 1 hour 15 minutes
Servings 6 people

Ingredients

Filling

  • 3 stalks celery 2 stalks snapped in half, 1 stalk chopped into 1/4" pieces
  • 1 bay leaf
  • 1 whole clove
  • 2 boneless, skinless chicken breasts
  • 1/2 lb egg noodles (240 g)
  • 3 tbsp butter
  • 2 onions 1 quartered, 1 chopped
  • 2 cloves garlic finely chopped
  • 1/2 lb cremini mushrooms (225 g) chopped
  • 3 tbsp flour
  • 3 cups milk
  • 1 tsp salt
  • 1/4 tsp white pepper
  • 1/4 tsp nutmeg
  • 1 tbsp Maggi
  • 4 oz cream cheese (1/2 of a 227g container)
  • 1 cup frozen peas

Topping

  • 1/2 cup fine breadcrumbs
  • 1/2 cup grated Parmesan cheese
  • 3 tbsp butter

Instructions

Filling

  1. In a medium to large pot, bring water to a boil. Add 2 broken celery sticks, Bay leaf, clove and one small onion, quartered (you can leave the onion skin on!). Add chicken breasts and keep at a low simmer until cooked through, about 20 minutes. Remove chicken and cut into 1/2" pieces, reserve.

  2. Remove onion pieces, celery and Bay leaf; top up the water and return to a boil. Add egg noodles. Cook according to the package instructions, leaving them a bit more to the al dente side (undercook by 1 min so the bite is just slightly chewy). Drain into a colander and reserve. Add a pat of butter and stir, to prevent the noodles sticking.

  3. Melt 3 tbsp butter in a large skillet on medium-high heat. Add onion and cook for 3–4 minutes until softened. Add garlic, celery and mushrooms. Cook until vegetables are tender and most of liquid has evapourated. 

  4. Sprinkle with flour and cook 1–2 minutes, stirring once or twice. Add milk, salt, pepper, nutmeg and Maggi; cook gently, stirring on medium heat until small bubbles start to form. 

  5. Add cream cheese in pieces to the skillet. Cook until cream cheese has melted and incorporated into the sauce. 

  6. Add reserved chicken and frozen peas, Stir to combine.

Topping

  1. Combine Parmesan and breadcrumbs in a small bowl. Melt butter and add; stir to combine. Set aside until ready to assemble.

Casserole

  1. Preheat oven to 350°

  2. Butter an 11x8" casserole dish (I prefer the slightly smaller size for deeper serving pieces and denser breadcrumbs on top, but a 9x13" dish will work, too). Add filling. Top with breadcrumb topping. Bake uncovered in a 350° oven for 30 minutes until top is browned and the saucy is bubbling deliciously. Serve.

Recipe Notes

You can make the casserole, breadcrumb topping and all, throw it in the freezer, and it hold up really well. Great to have on hand for one of those weeknights where you get home late for work and don't have the energy to make something!

Filed Under: Main, Recipe Tagged With: casserole, chicken, comfort food, egg noodles, peas, tetrazzini

  • « Previous Page
  • Page 1
  • …
  • Page 5
  • Page 6
  • Page 7
  • Page 8
  • Next Page »

Primary Sidebar

Welcome to my kitchen journal, a place where I will share my favourite heritage recipes honed over the years, as well as document new evolutions and experiments along the way. Great feasts become vehicles for fond memories—the best meals are the ones someone made with love, for you. Follow me to explore traditions, document stories and experience the joy of the feast. Read More…

  • Facebook
  • Instagram
  • Pinterest
  • Twitter
  • YouTube

Don’t miss a story!

Get email updates

Copyright © 2025